Give each reference a clear role
Provide the destination photograph and a clear face reference. Similar head angles and unobstructed faces make the intended replacement easier to communicate.

Photo Face Swap
Swap faces in photos with Cuta. Use a source portrait and a face reference to create a new character look or reimagine a portrait composition.
Provide the destination photograph and a clear face reference. Similar head angles and unobstructed faces make the intended replacement easier to communicate.
Add the materials to their named inputs. Target photo: one image; Source face: one image.
Illustrative artwork shows the intended visual direction. Your result depends on your source materials and settings.
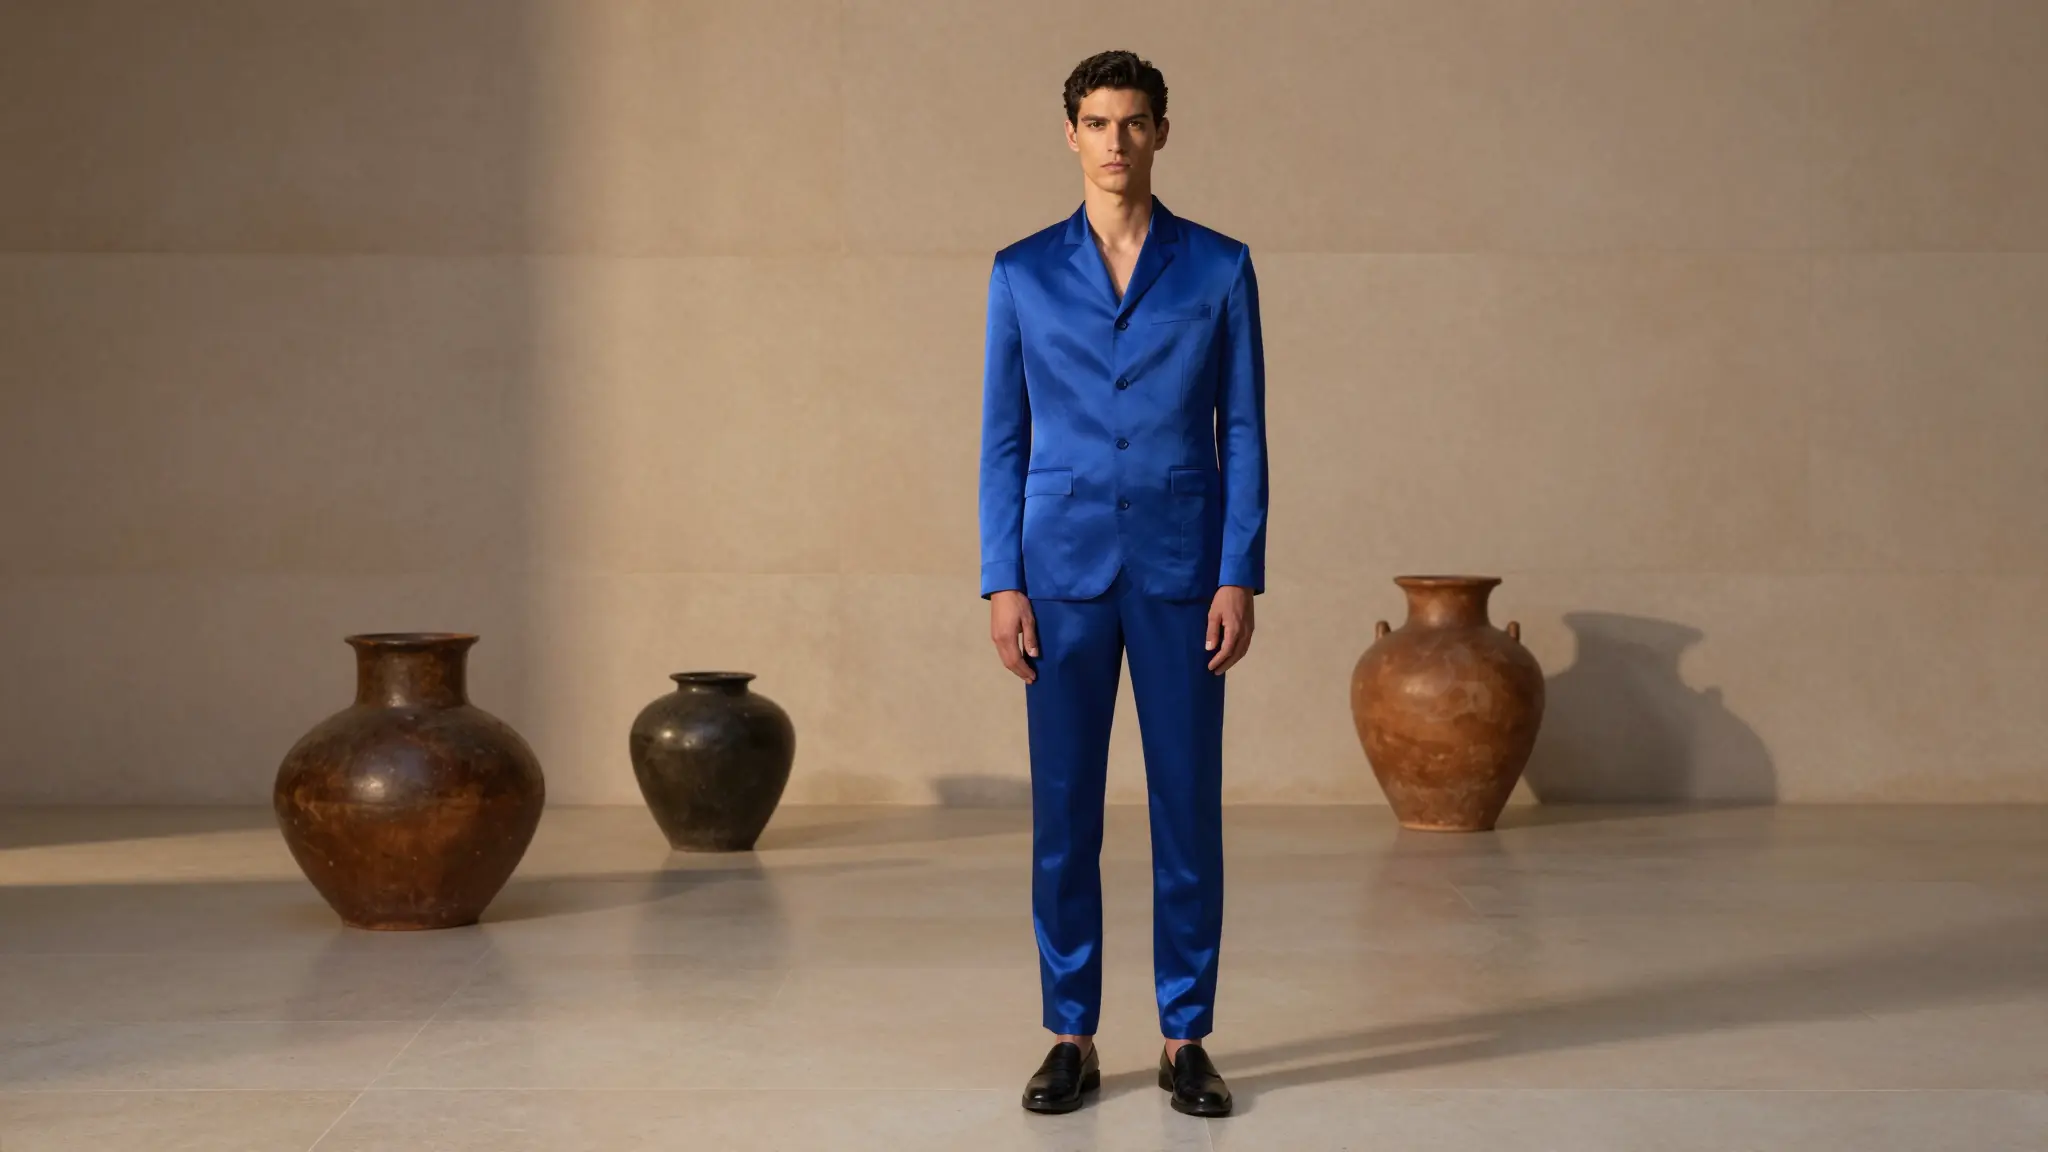
Two matched adult portrait photographs with different hairstyles and clothing but the same distinctive face, evenly lit cream background, clear photo identity transformation without captions. luminous diffuse lighting, understated background and distinct subject colors
Try it nowFrom idea to creation
Add the materials to their named inputs. Target photo: one image; Source face: one image.
Provide the destination photograph and a clear face reference. Similar head angles and unobstructed faces make the intended replacement easier to communicate.
Inspect facial proportions, hairline, lighting and the transition into the original photo. The surrounding pose should still make sense.
Try a different face on a fictional character composition while checking the integration with the pose and light.
Compare a face reference with a destination portrait, paying attention to expression and framing.
Add the materials to their named inputs. Target photo: one image; Source face: one image.
Keep exploring
Your next creation starts here
Start with your own content in Photo Face Swap. Review the settings in Studio and create your result.