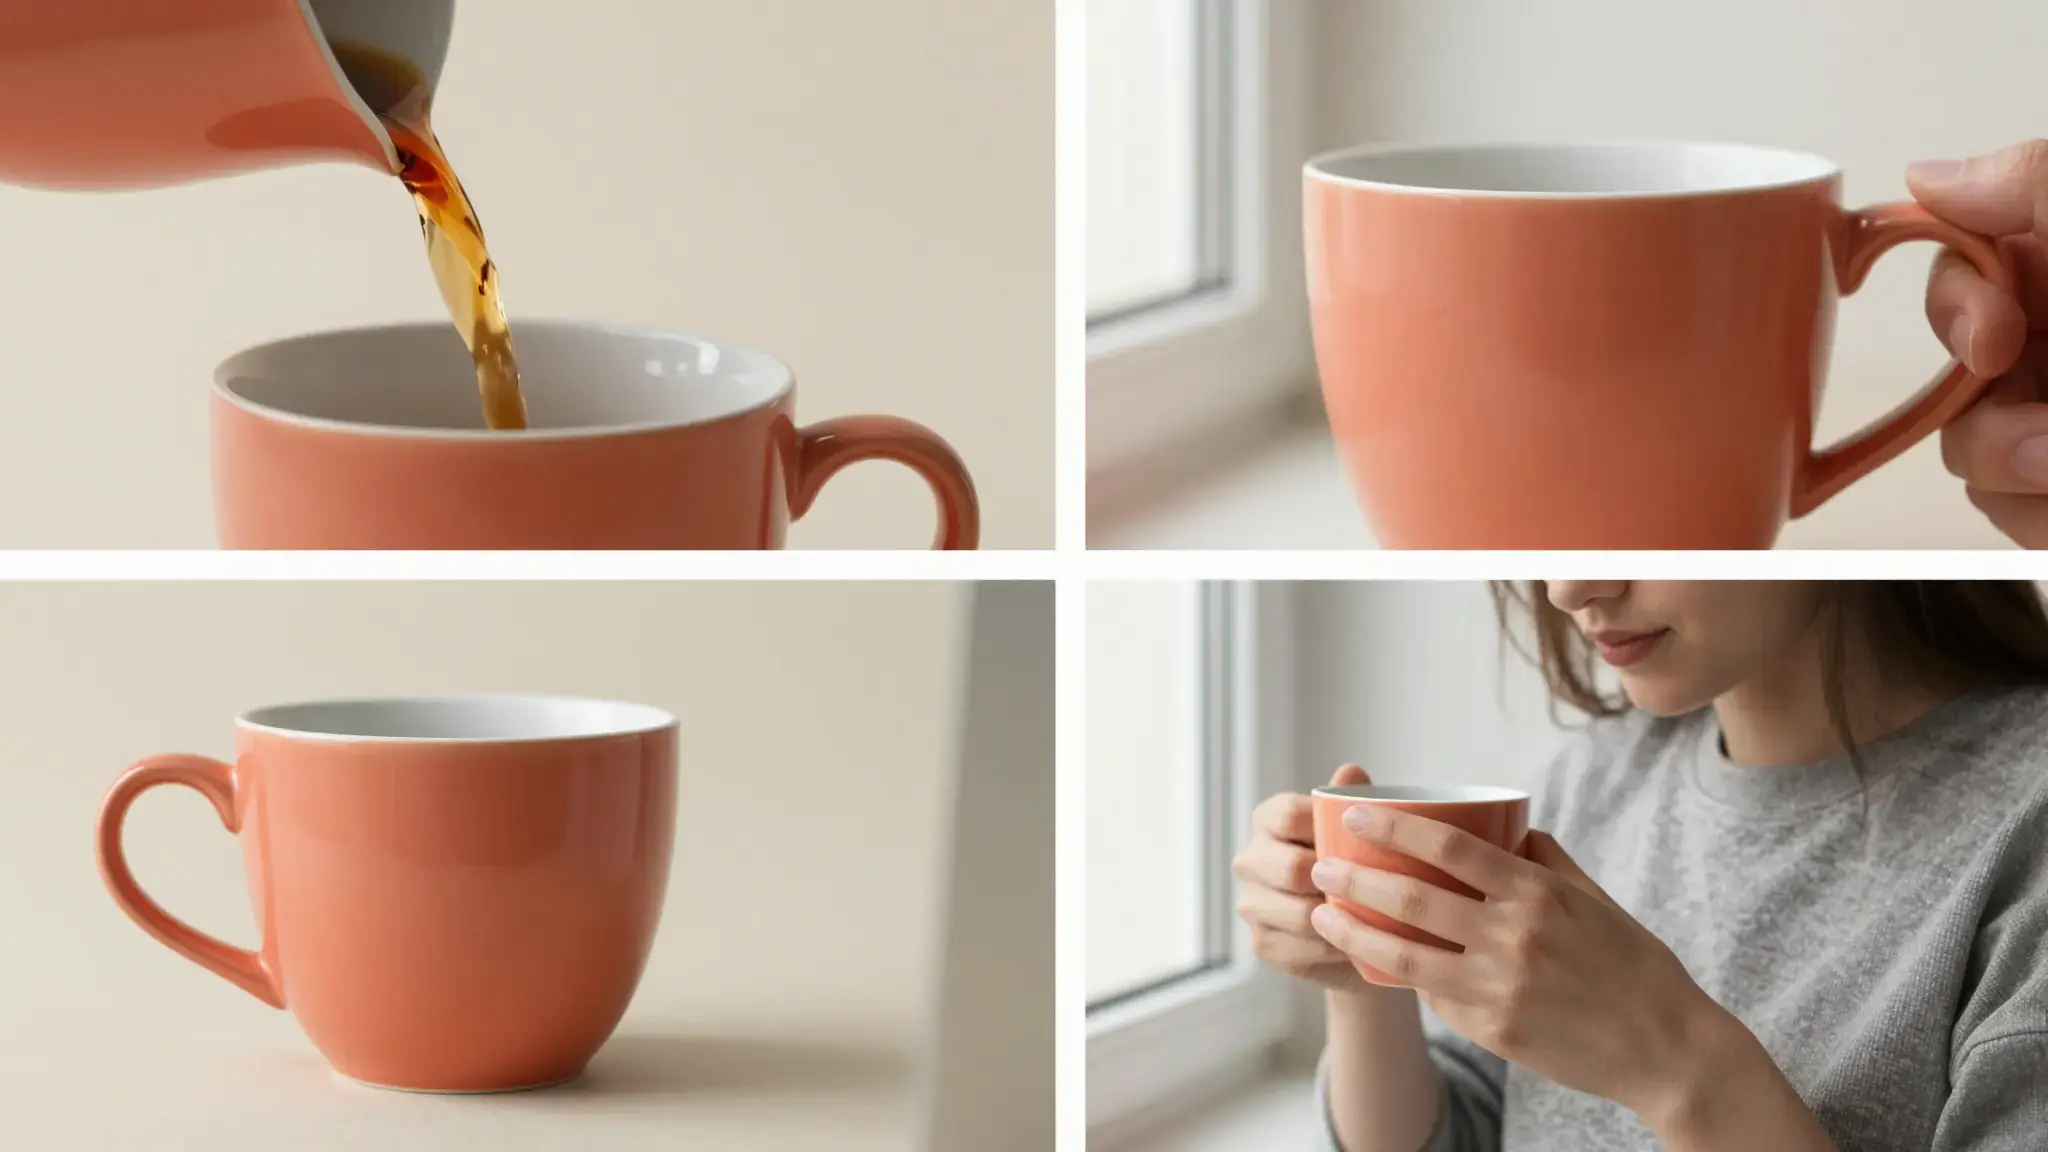
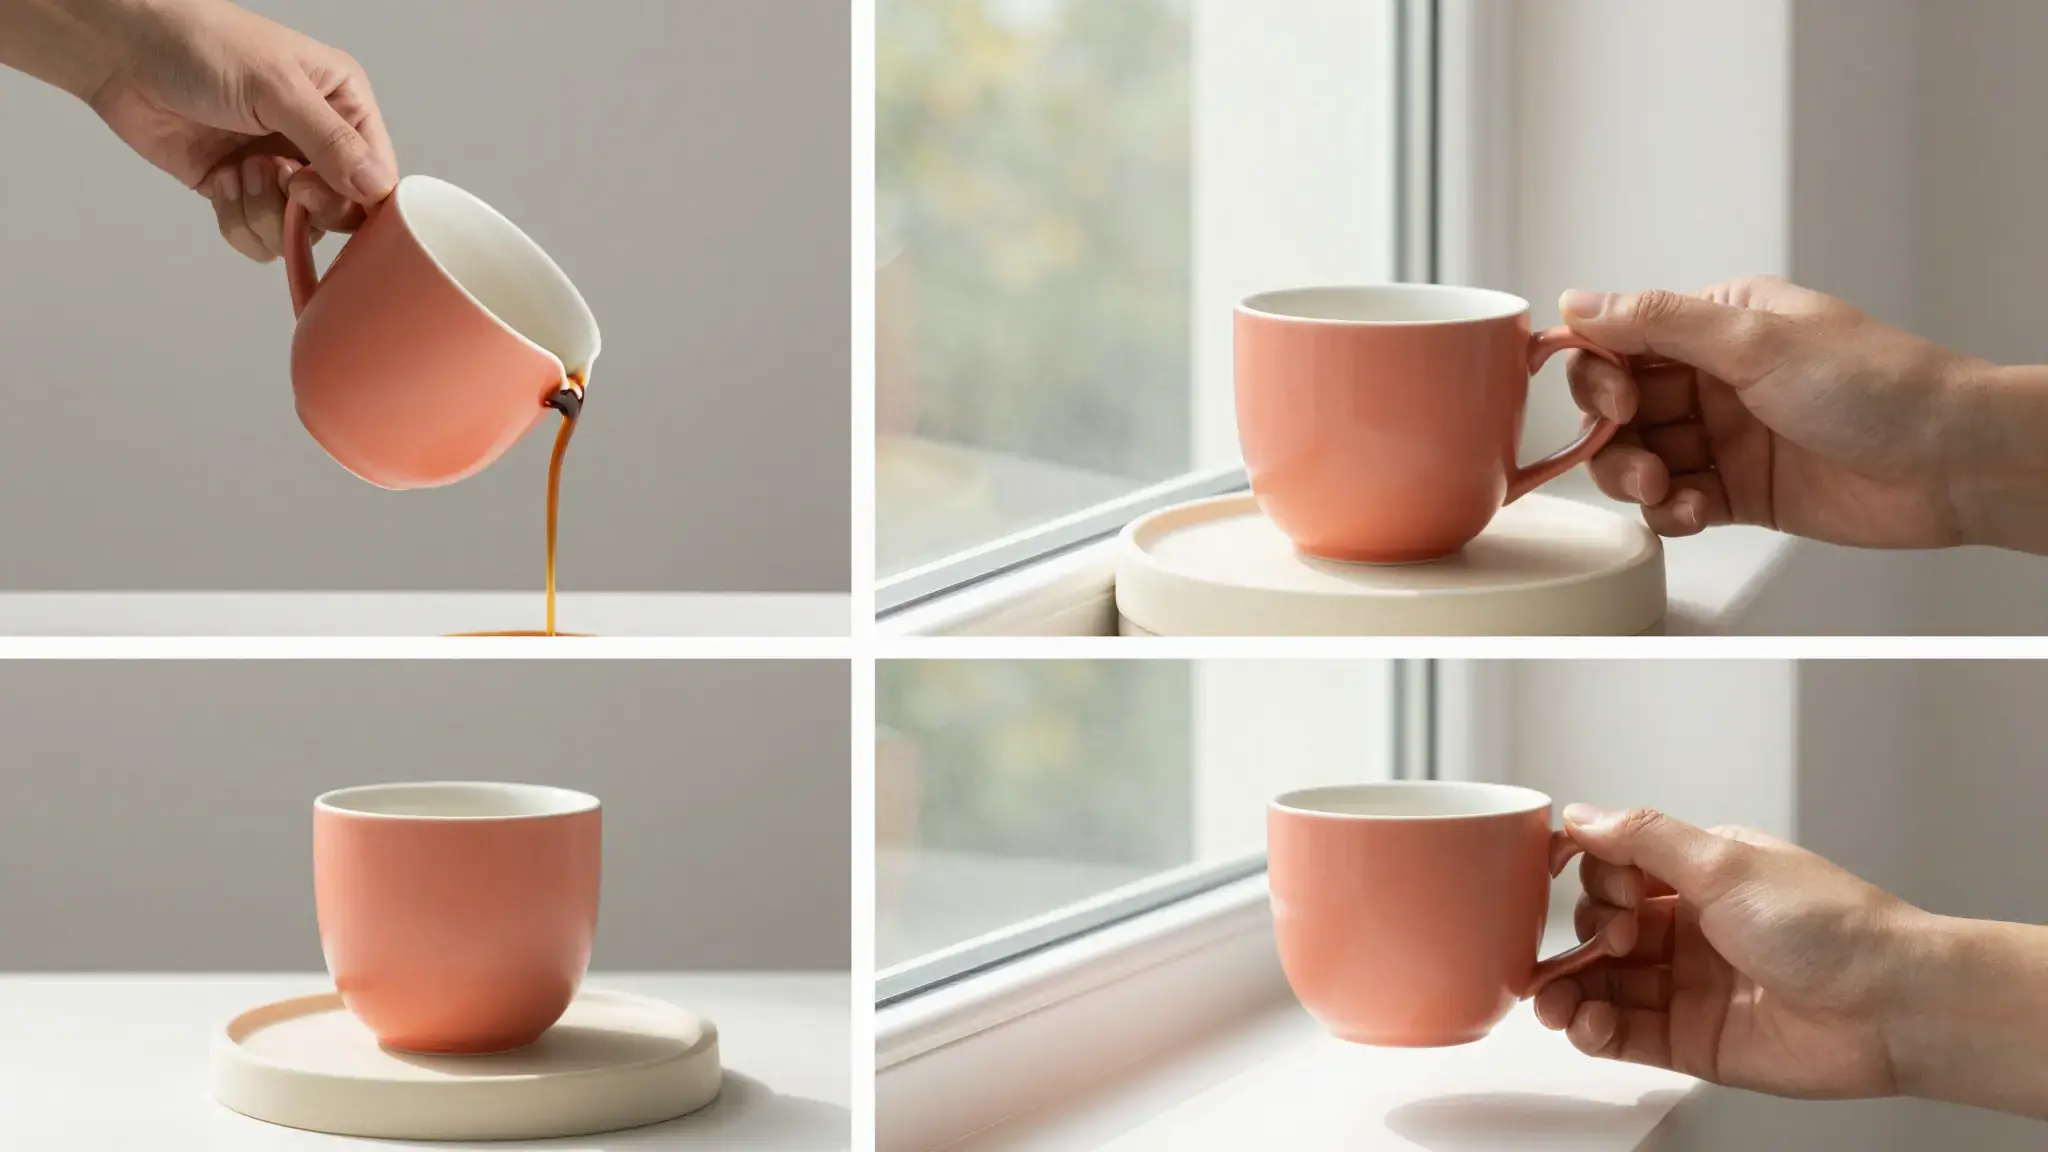
Give the comparison a visible basis
Name the two states, products or approaches, and specify the difference to show. Supply accurate references and use the same framing where possible.

Before and After Video
Create a before-and-after video from two images with Cuta. Show a visual transformation for project recaps, product demonstrations and makeover presentations.
Name the two states, products or approaches, and specify the difference to show. Supply accurate references and use the same framing where possible.
Add the materials to their named inputs. Before image: one image; After image: one image.
Illustrative artwork shows the intended visual direction. Your result depends on your source materials and settings.
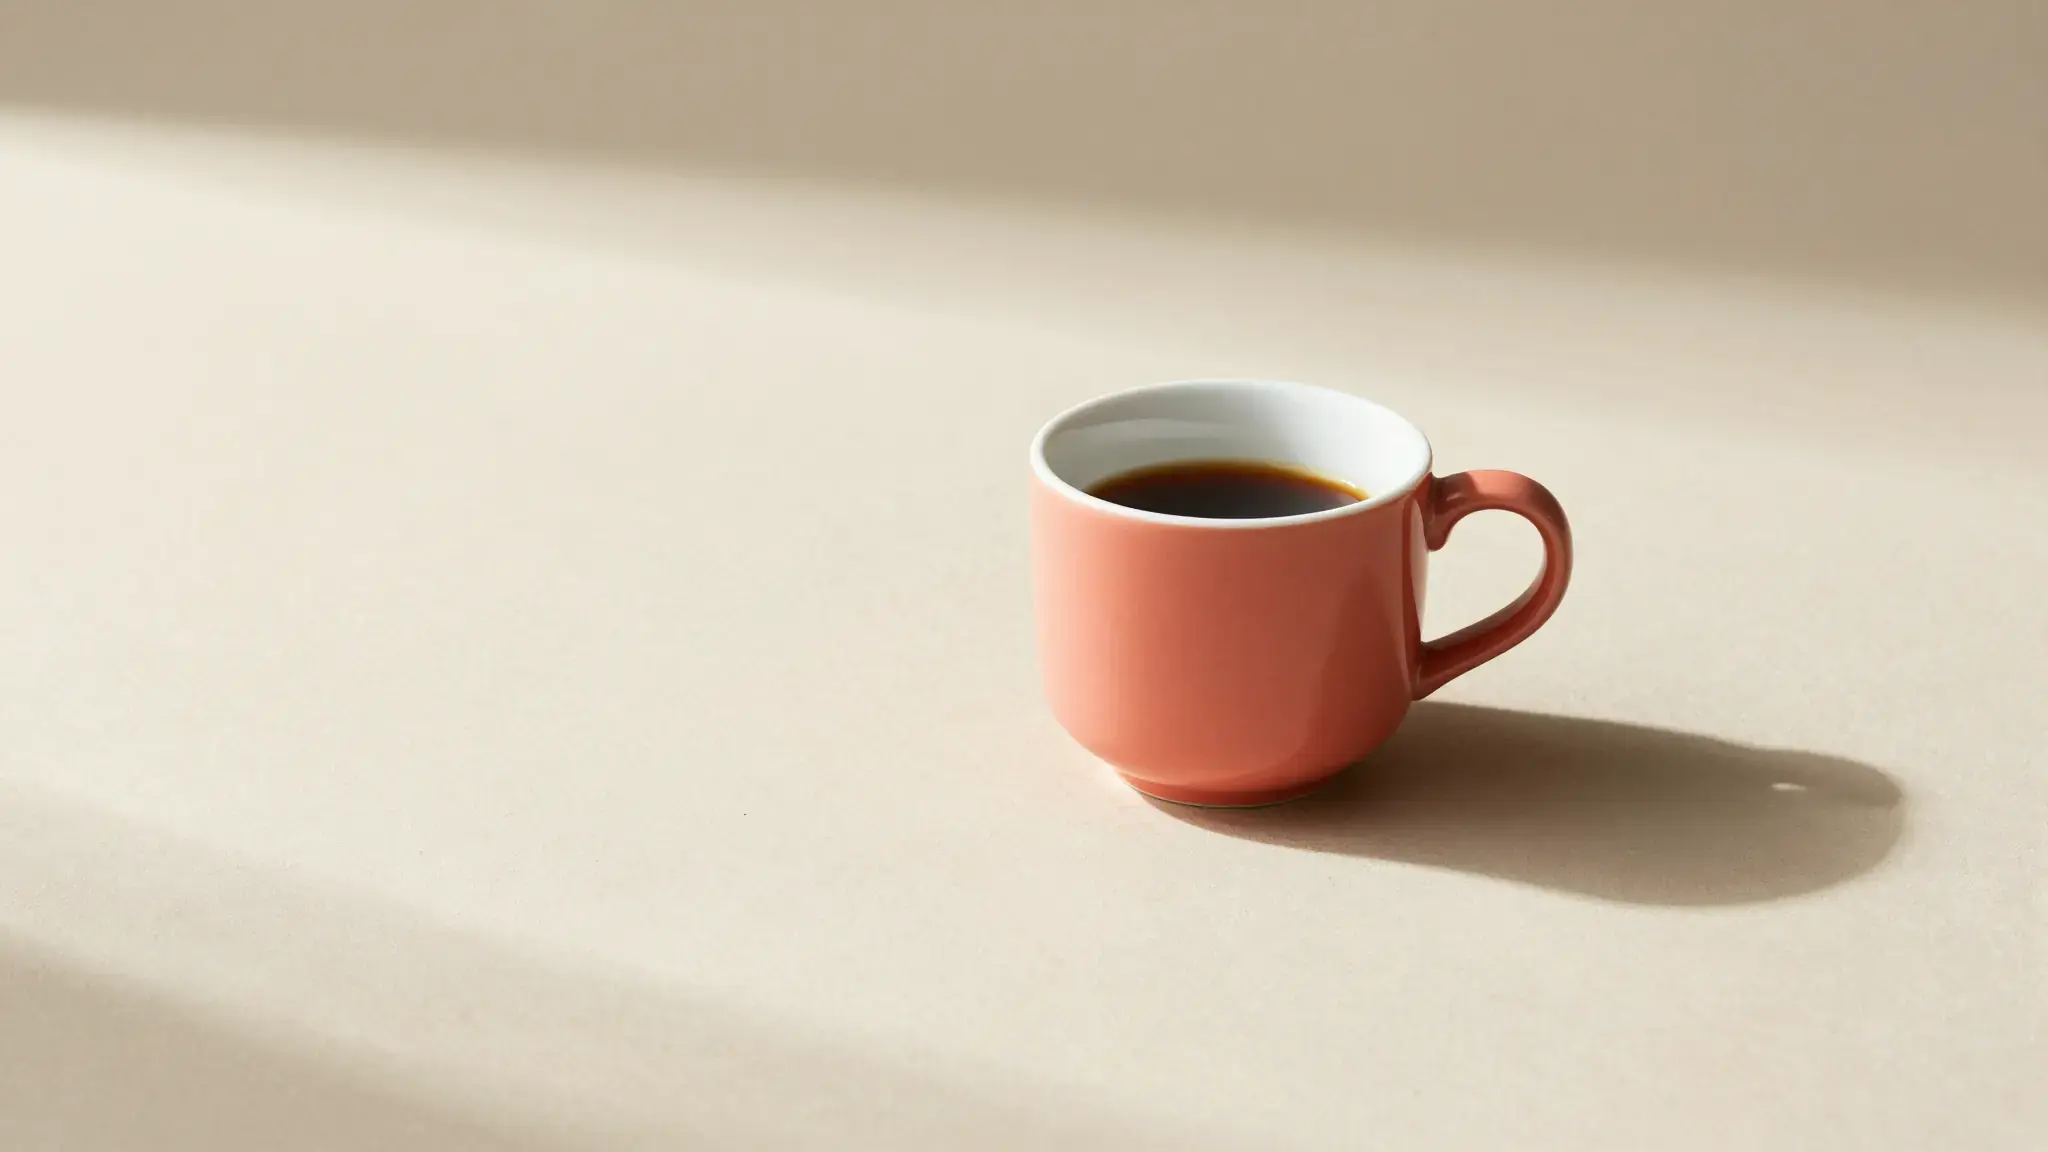
Two matching unmarked cream ceramic coffee cups photographed side by side, one filled with black coffee and the other topped with textured latte foam, consistent angle and soft neutral background. luminous diffuse lighting, understated background and distinct subject colors
Try it nowPlan a sequence that shows the relevant difference between two stages of a process.
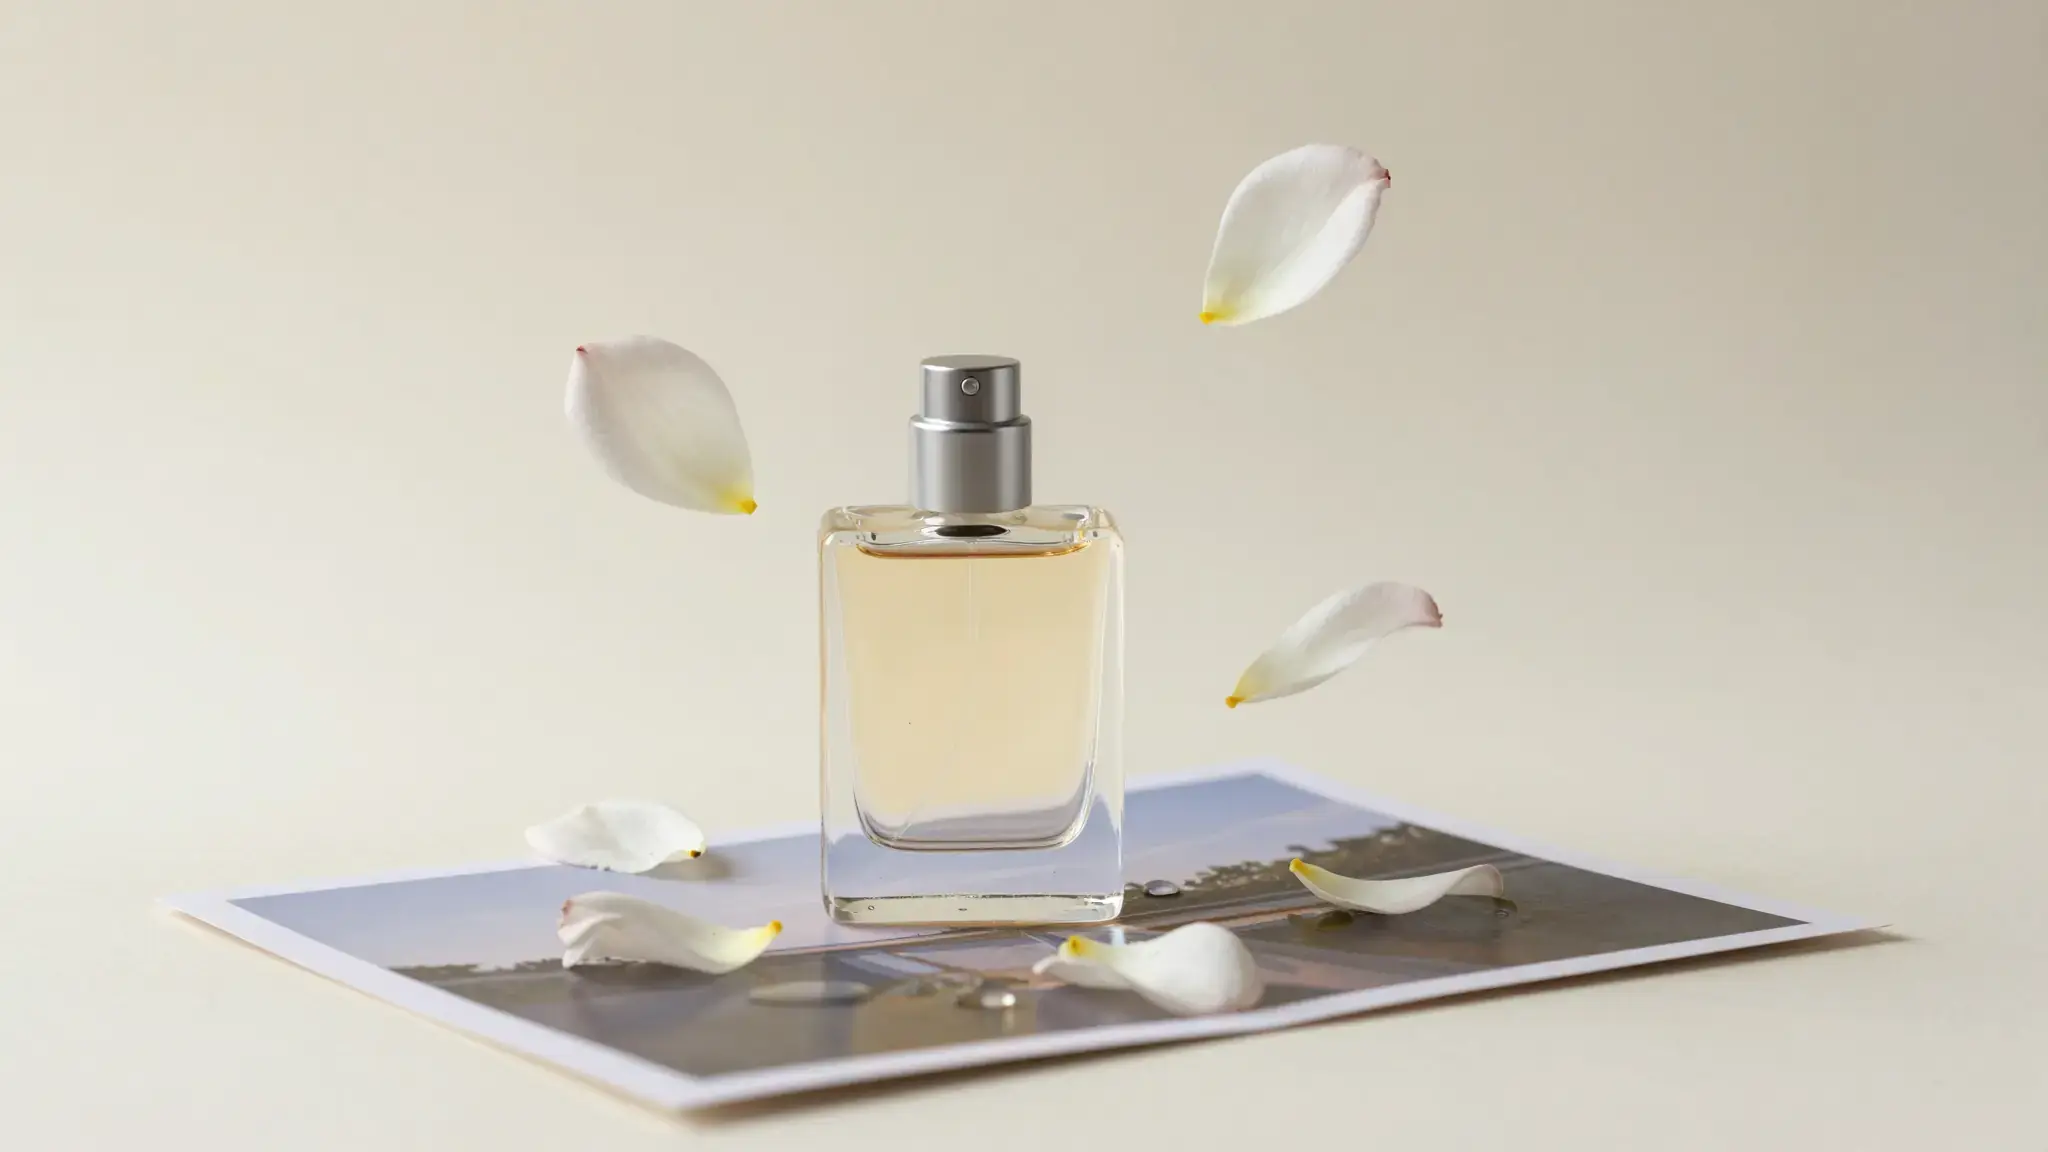
Compare appearance or usage scenes while checking that each item remains recognizable.
From idea to creation
Add the materials to their named inputs. Before image: one image; After image: one image.
Name the two states, products or approaches, and specify the difference to show. Supply accurate references and use the same framing where possible.
Check that the comparison is supported by the supplied material. Generated imagery does not verify performance claims.
Add the materials to their named inputs. Before image: one image; After image: one image.
Keep exploring
Your next creation starts here
Start with your own content in Before and After Video. Review the settings in Studio and create your result.