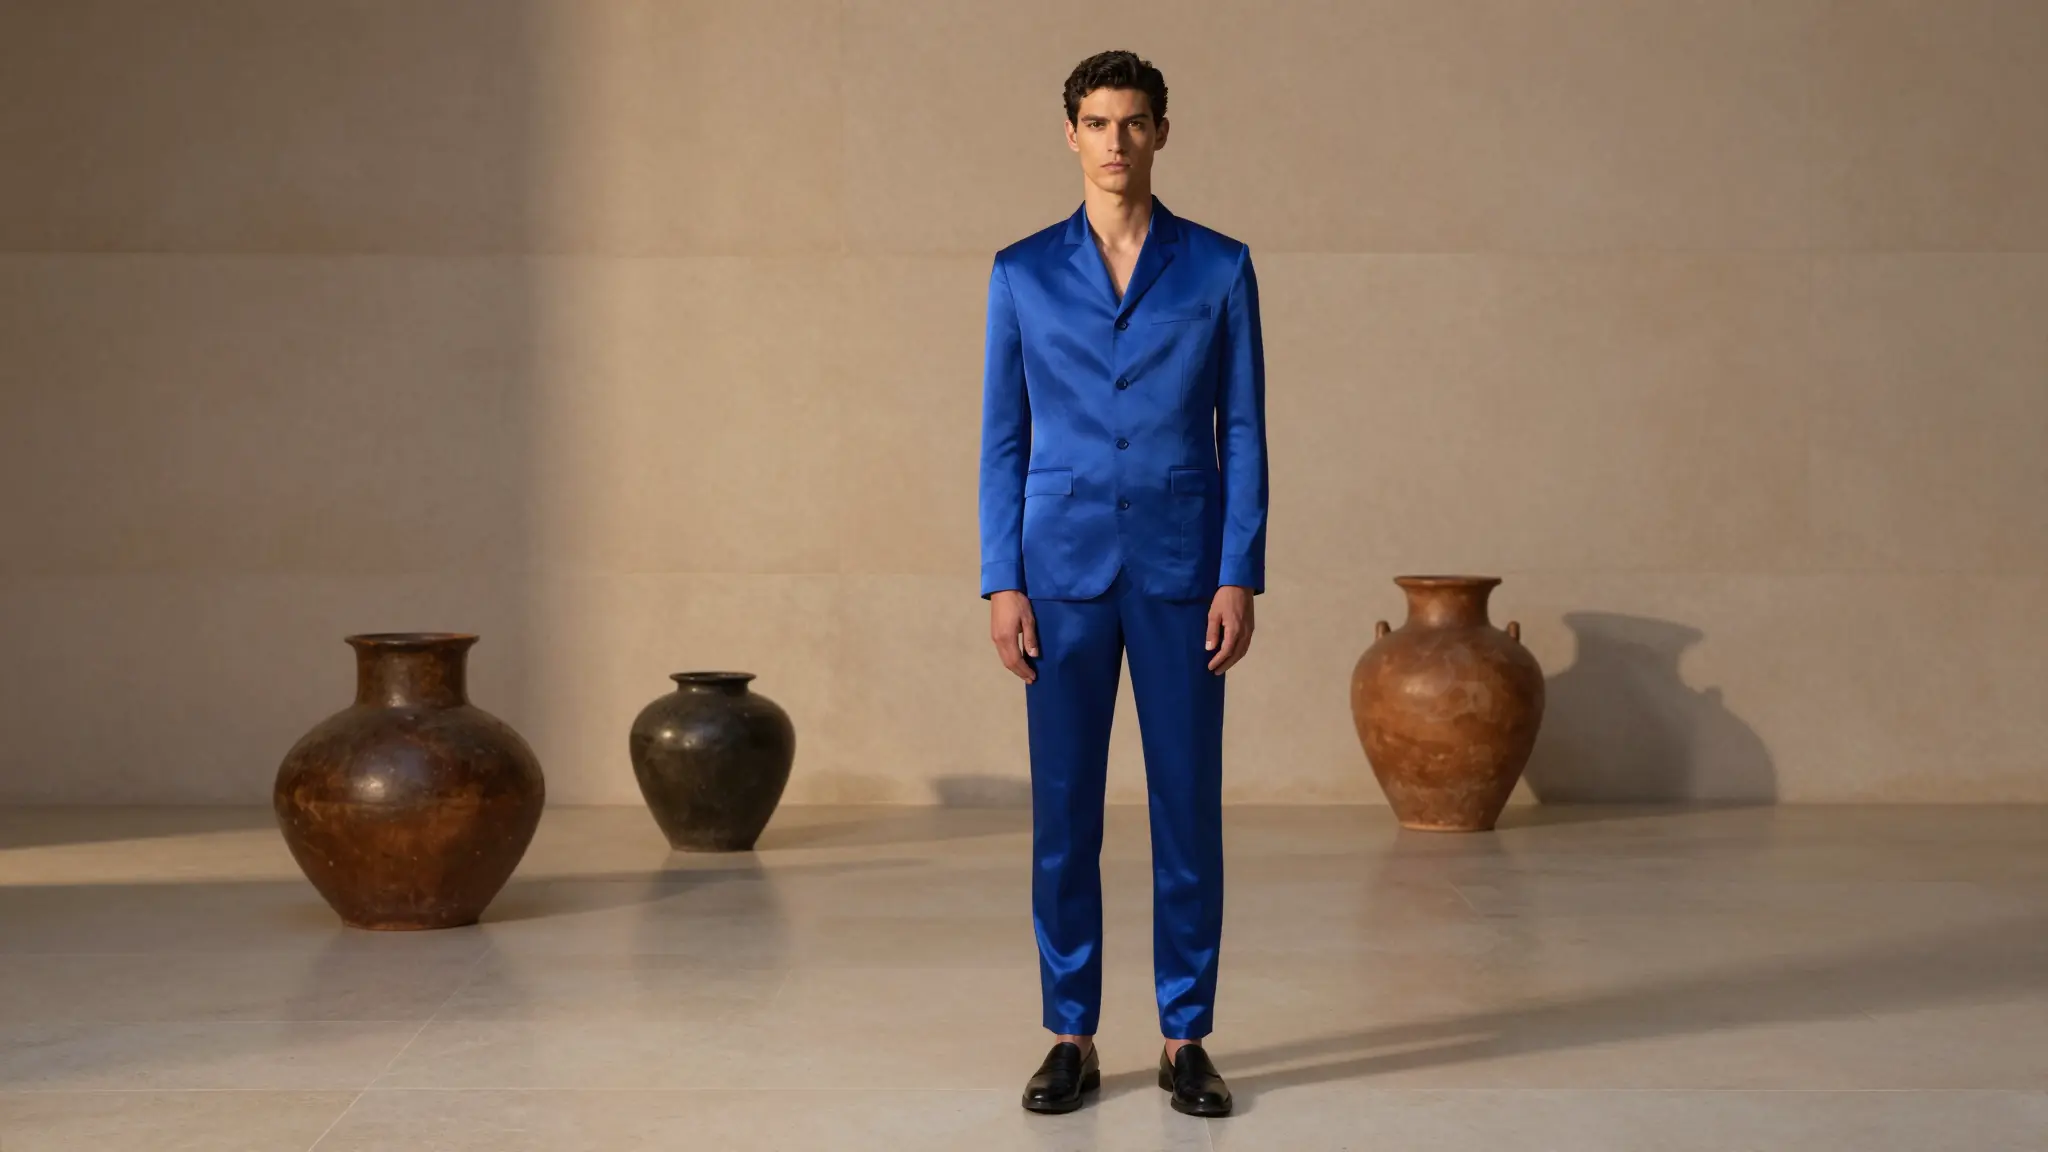
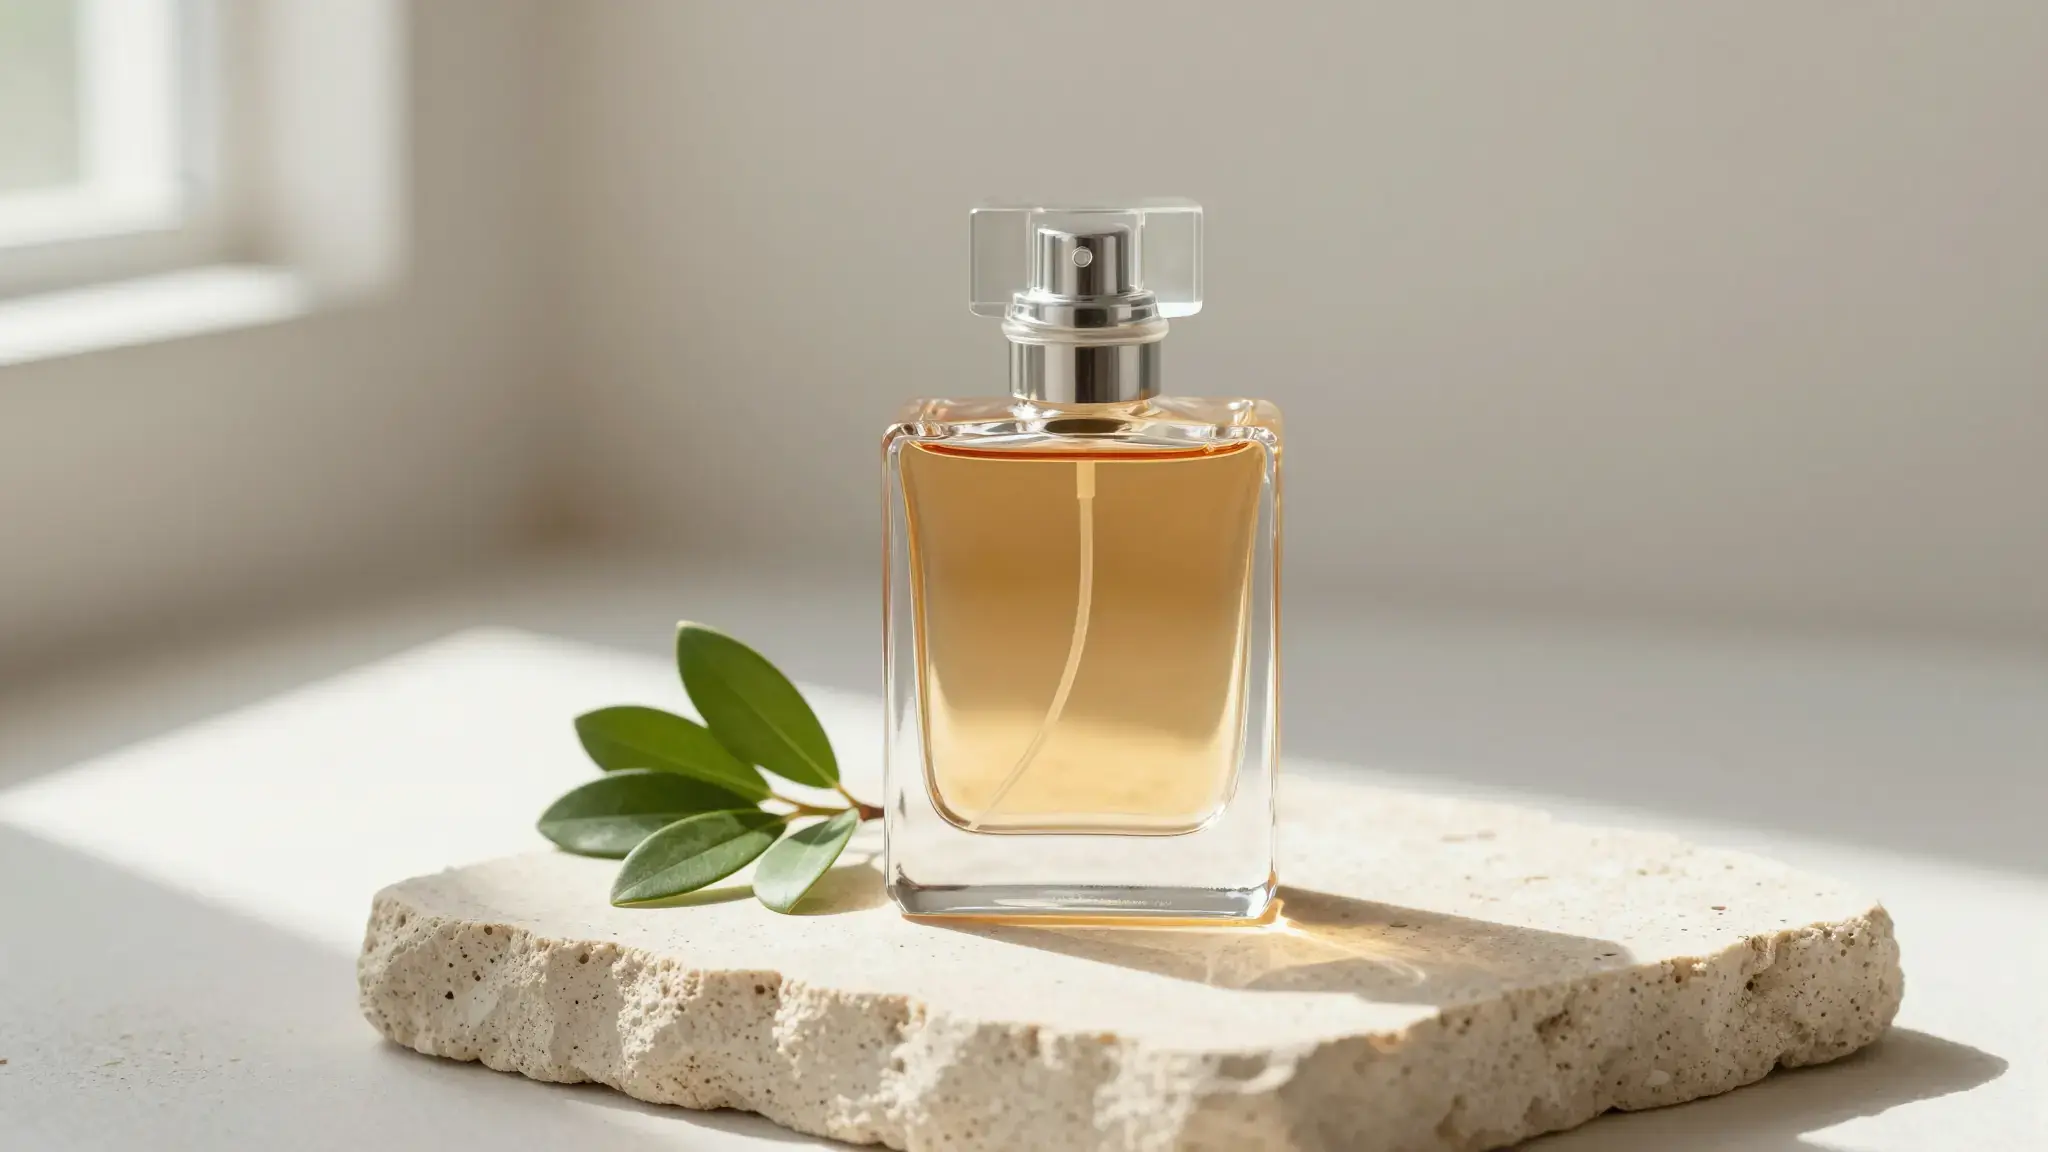
Shape the treatment around your reference
Describe the visual change and name what should stay recognizable: the subject, pose, colors or background. A clear reference gives the edit a useful starting point.

Object Remover
Remove distracting objects from an image with Cuta. Rework the surrounding area to simplify a scene, clean up a product photo or focus attention on the subject.
Describe the visual change and name what should stay recognizable: the subject, pose, colors or background. A clear reference gives the edit a useful starting point.
Add the materials to their named inputs. Original image: one image; Removal mask: one image.
Illustrative artwork shows the intended visual direction. Your result depends on your source materials and settings.
An eraser removes the right half of a pencil-drawn red cup from white paper. This is an illustration of removal, not an actual before-and-after output.
Try it nowFrom idea to creation
Add the materials to their named inputs. Original image: one image; Removal mask: one image.
Describe the visual change and name what should stay recognizable: the subject, pose, colors or background. A clear reference gives the edit a useful starting point.
Compare the edited subject with your reference. AI may reinterpret facial features, small text, accessories and background details as well as the requested treatment.
Use your own reference to make a portrait or object image with this treatment, then inspect it at the size you plan to share.
Keep the reference fixed while adjusting the treatment, palette or intensity in the brief to compare visual directions.
Add the materials to their named inputs. Original image: one image; Removal mask: one image.
Keep exploring
Your next creation starts here
Start with your own content in Object Remover. Review the settings in Studio and create your result.