An example to adapt
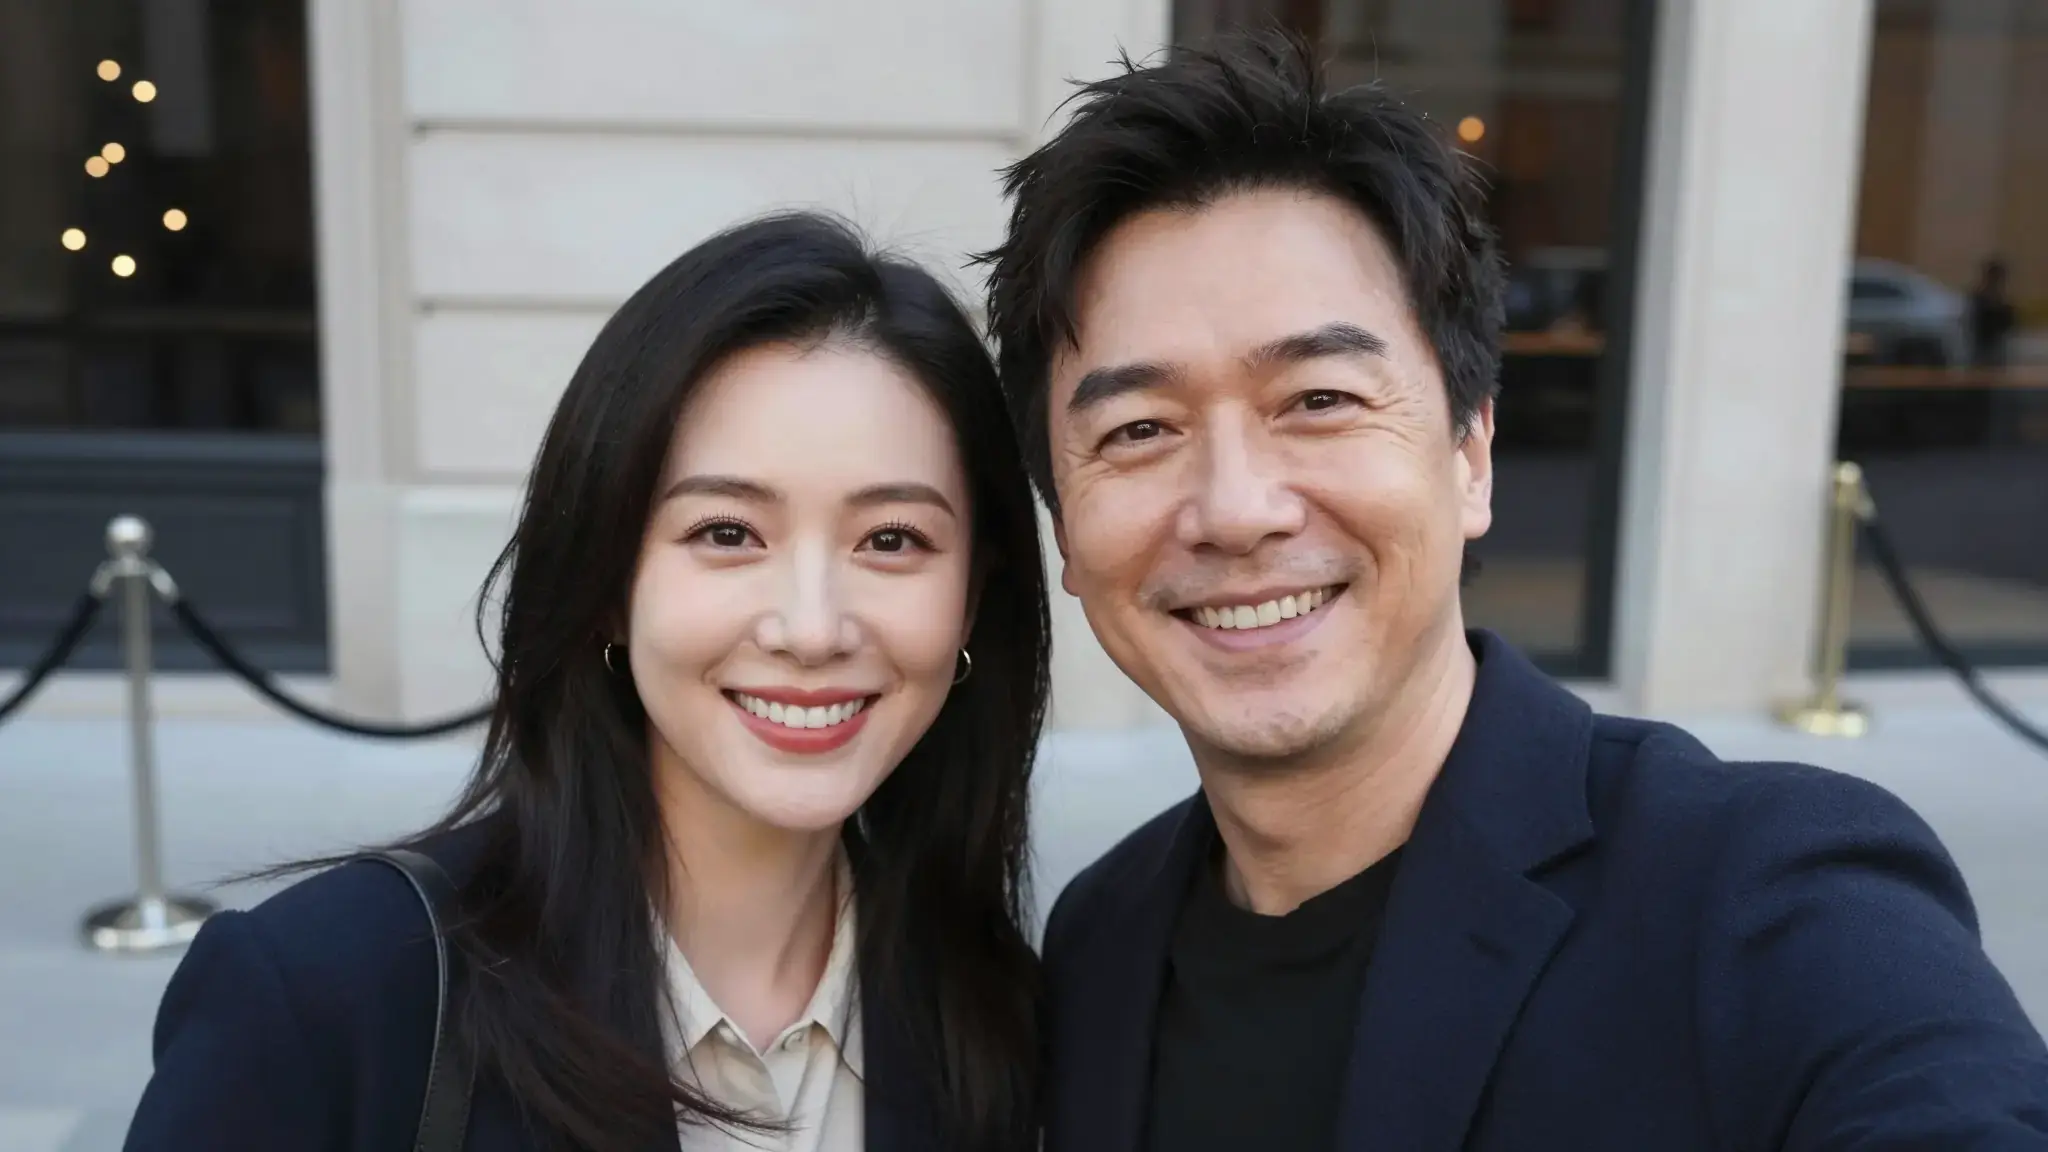
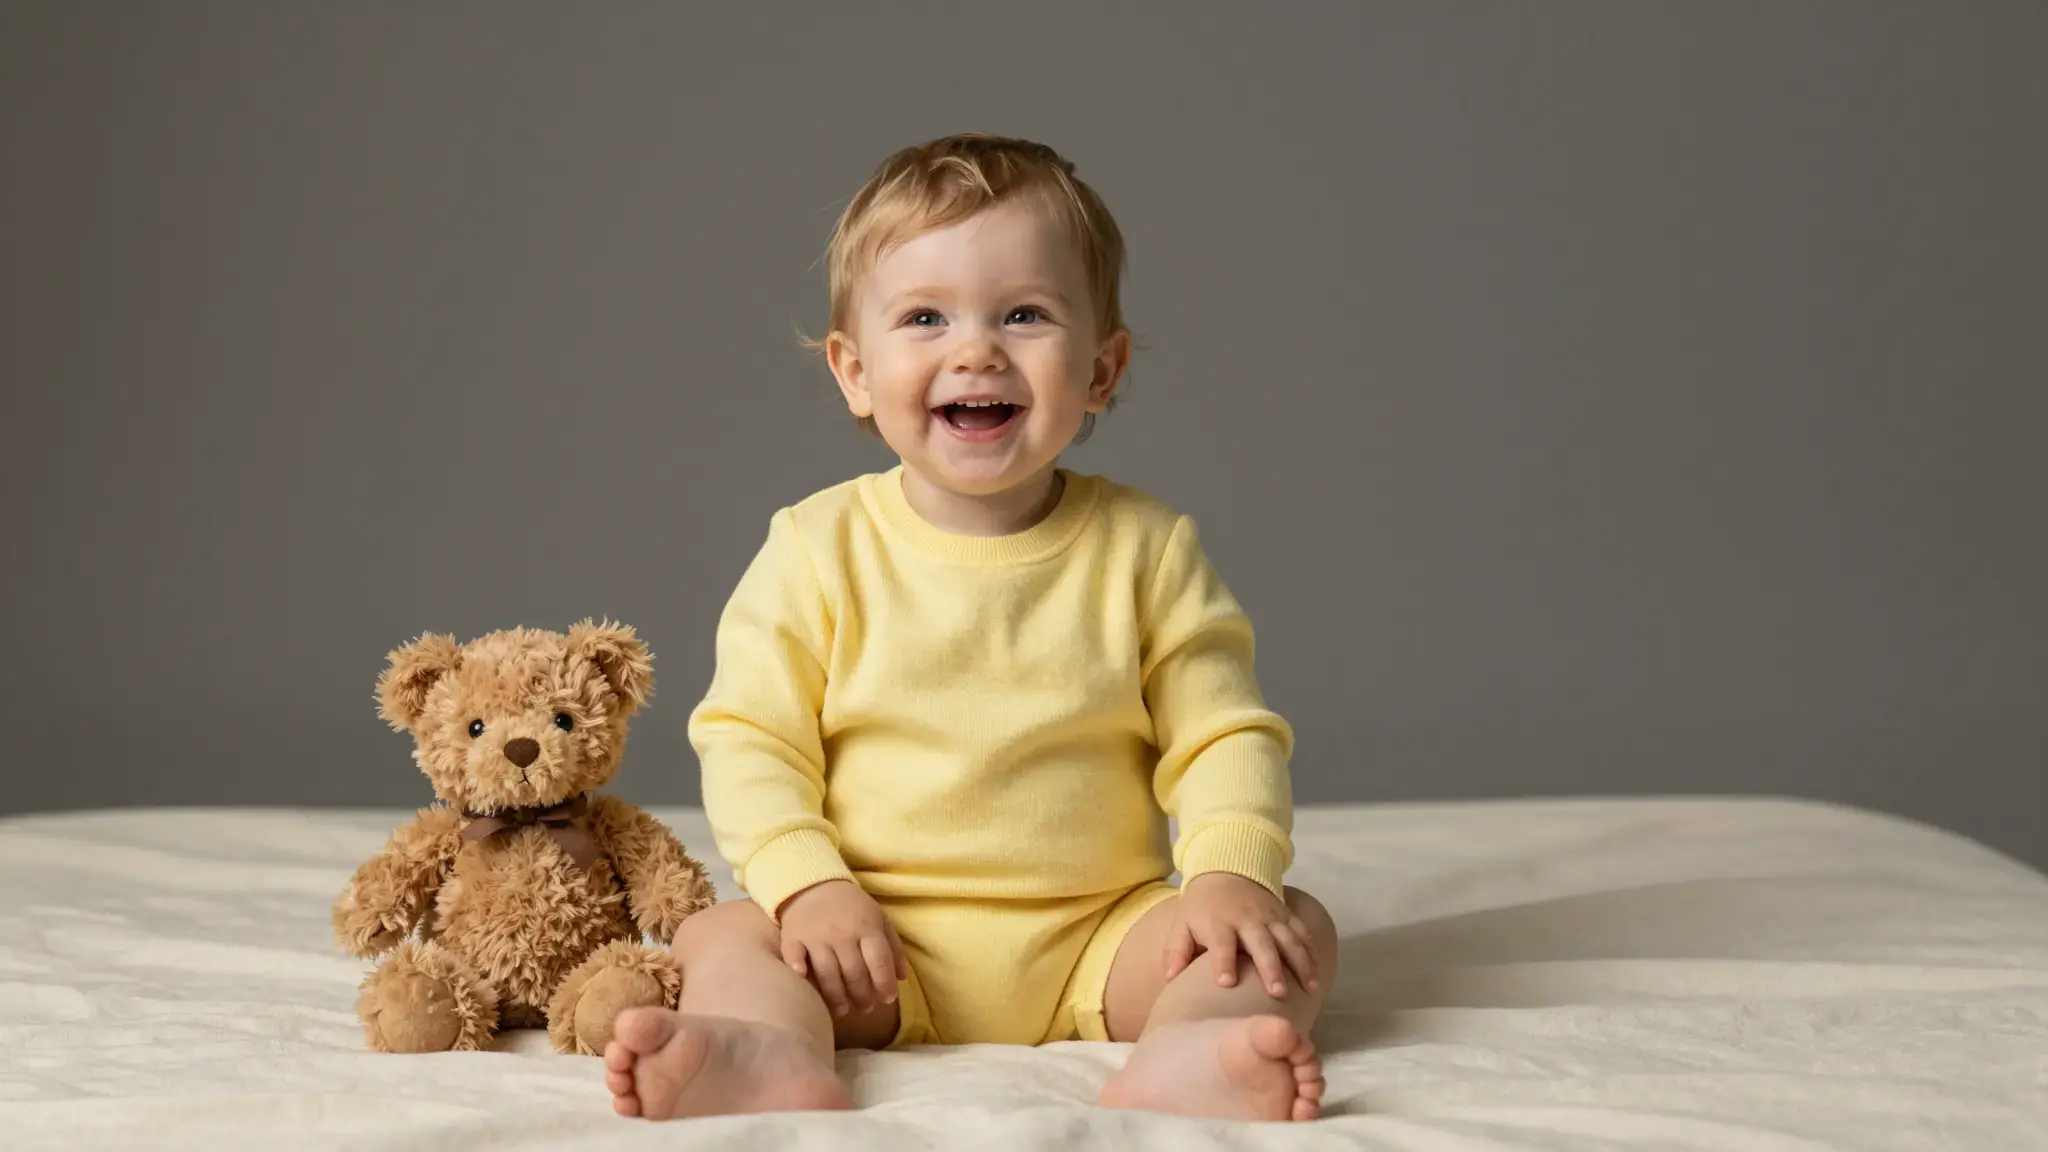
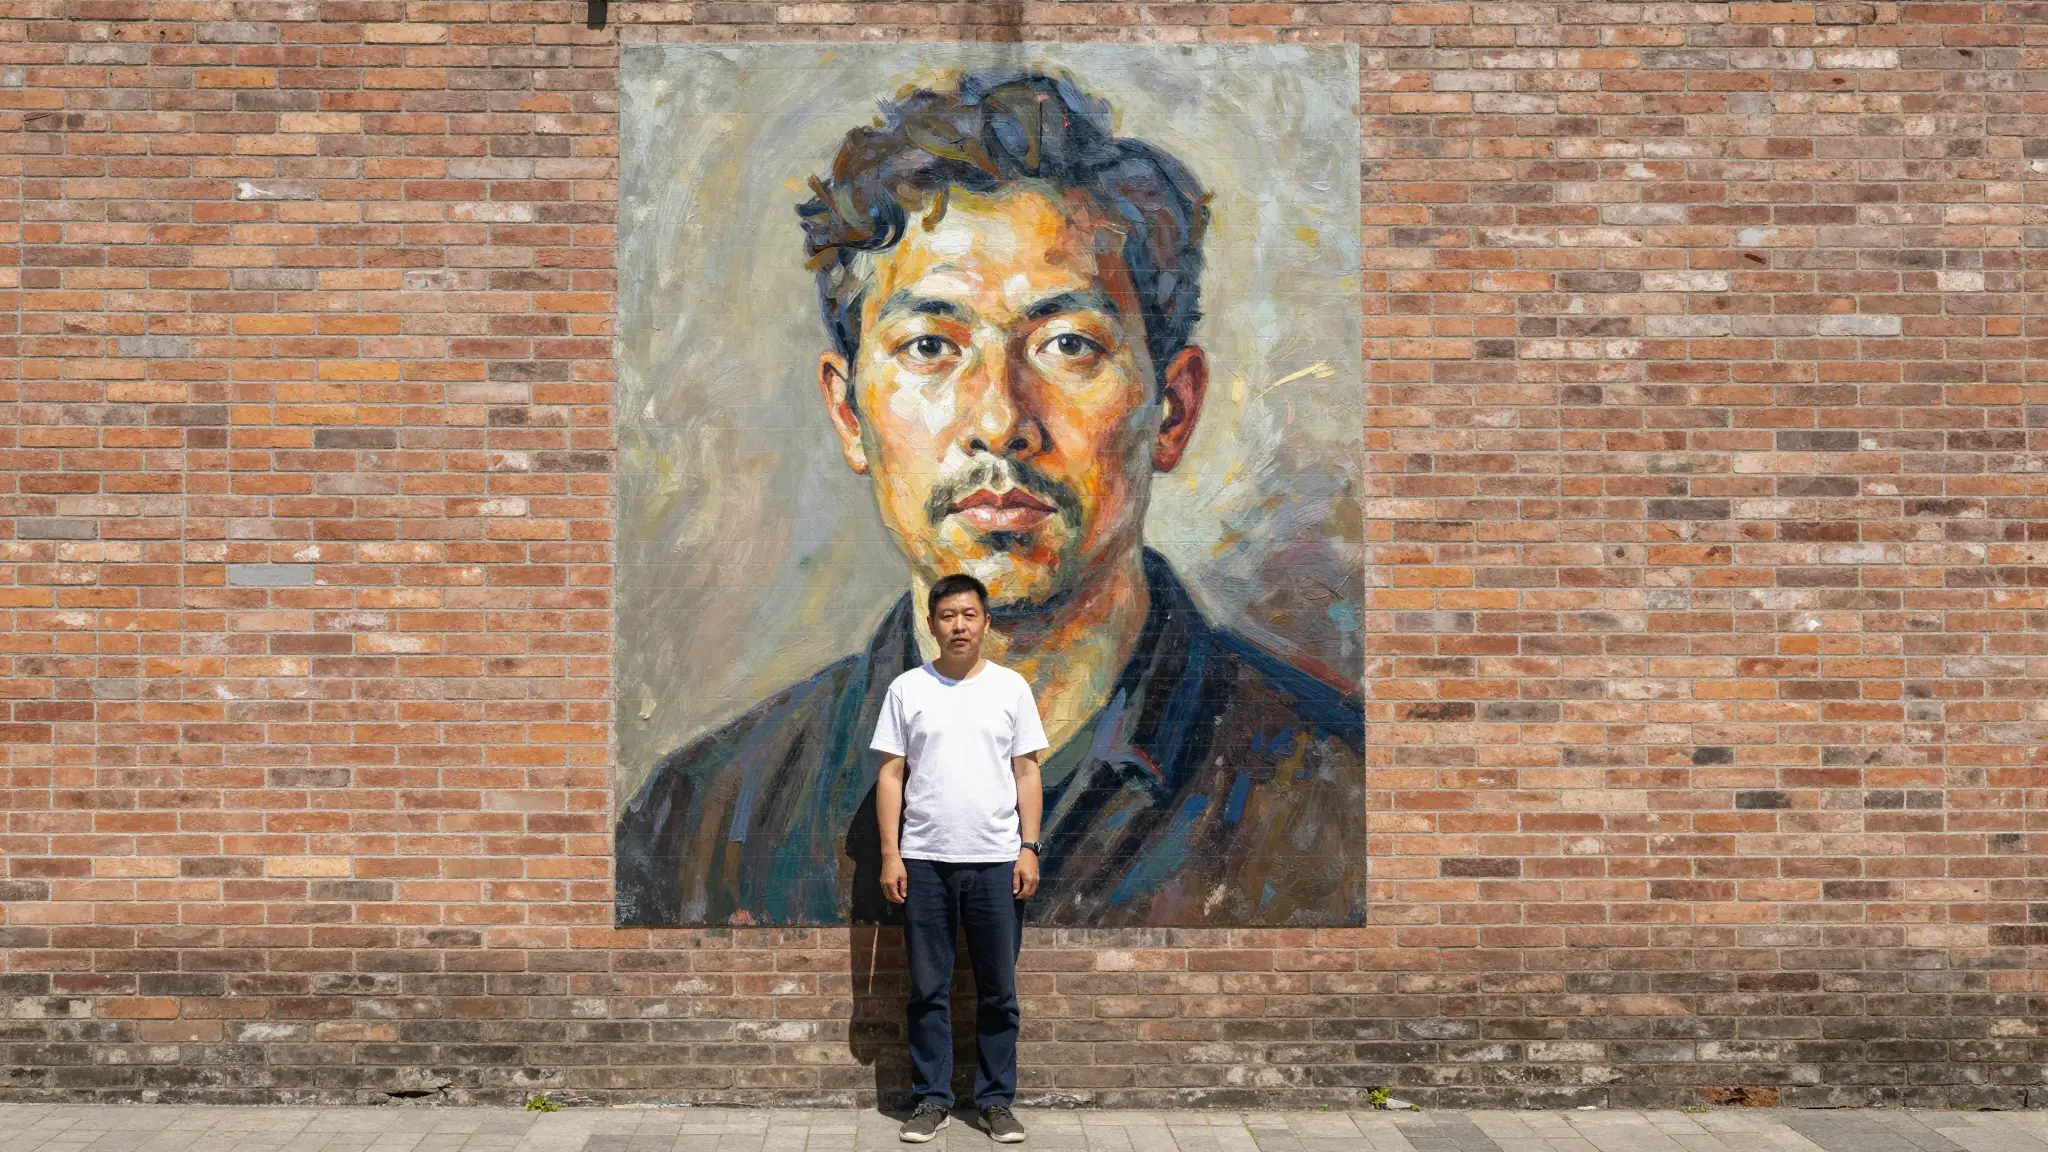
The right side of a digital portrait dissolves into floating square pixels while the left side stays intact; the pixels drift away from the body rather than covering the face.
Try it now
AI Pixel Dissolve Effect
AI Pixel Dissolve Effect: transform your image with Cuta's AI photo effects. Explore a new artistic look for the subject and scene.
Illustrative artwork shows the intended visual direction. Your result depends on your source materials and settings.
The right side of a digital portrait dissolves into floating square pixels while the left side stays intact; the pixels drift away from the body rather than covering the face.
Try it nowDescribe the visual change and name what should stay recognizable: the subject, pose, colors or background. A clear reference gives the edit a useful starting point.
Add the materials to their named inputs. Image 1: one image.
From idea to creation
Add the materials to their named inputs. Image 1: one image.
Describe the visual change and name what should stay recognizable: the subject, pose, colors or background. A clear reference gives the edit a useful starting point.
Compare the edited subject with your reference. AI may reinterpret facial features, small text, accessories and background details as well as the requested treatment.
Use your own reference to make a portrait or object image with this treatment, then inspect it at the size you plan to share.
Keep the reference fixed while adjusting the treatment, palette or intensity in the brief to compare visual directions.
Add the materials to their named inputs. Image 1: one image.
Keep exploring
Your next creation starts here
Start with your own content in AI Pixel Dissolve Effect. Review the settings in Studio and create your result.