AI video
Low Angle Shots: Meaning, Examples and Camera Setup
Learn what a low angle shot communicates, position the camera deliberately and keep the subject readable with a focused framing exercise.

Learn what a low angle shot communicates, position the camera deliberately and keep the subject readable with a focused framing exercise.
Turn inspiration into images and videos with Cuta. Start creating for free.
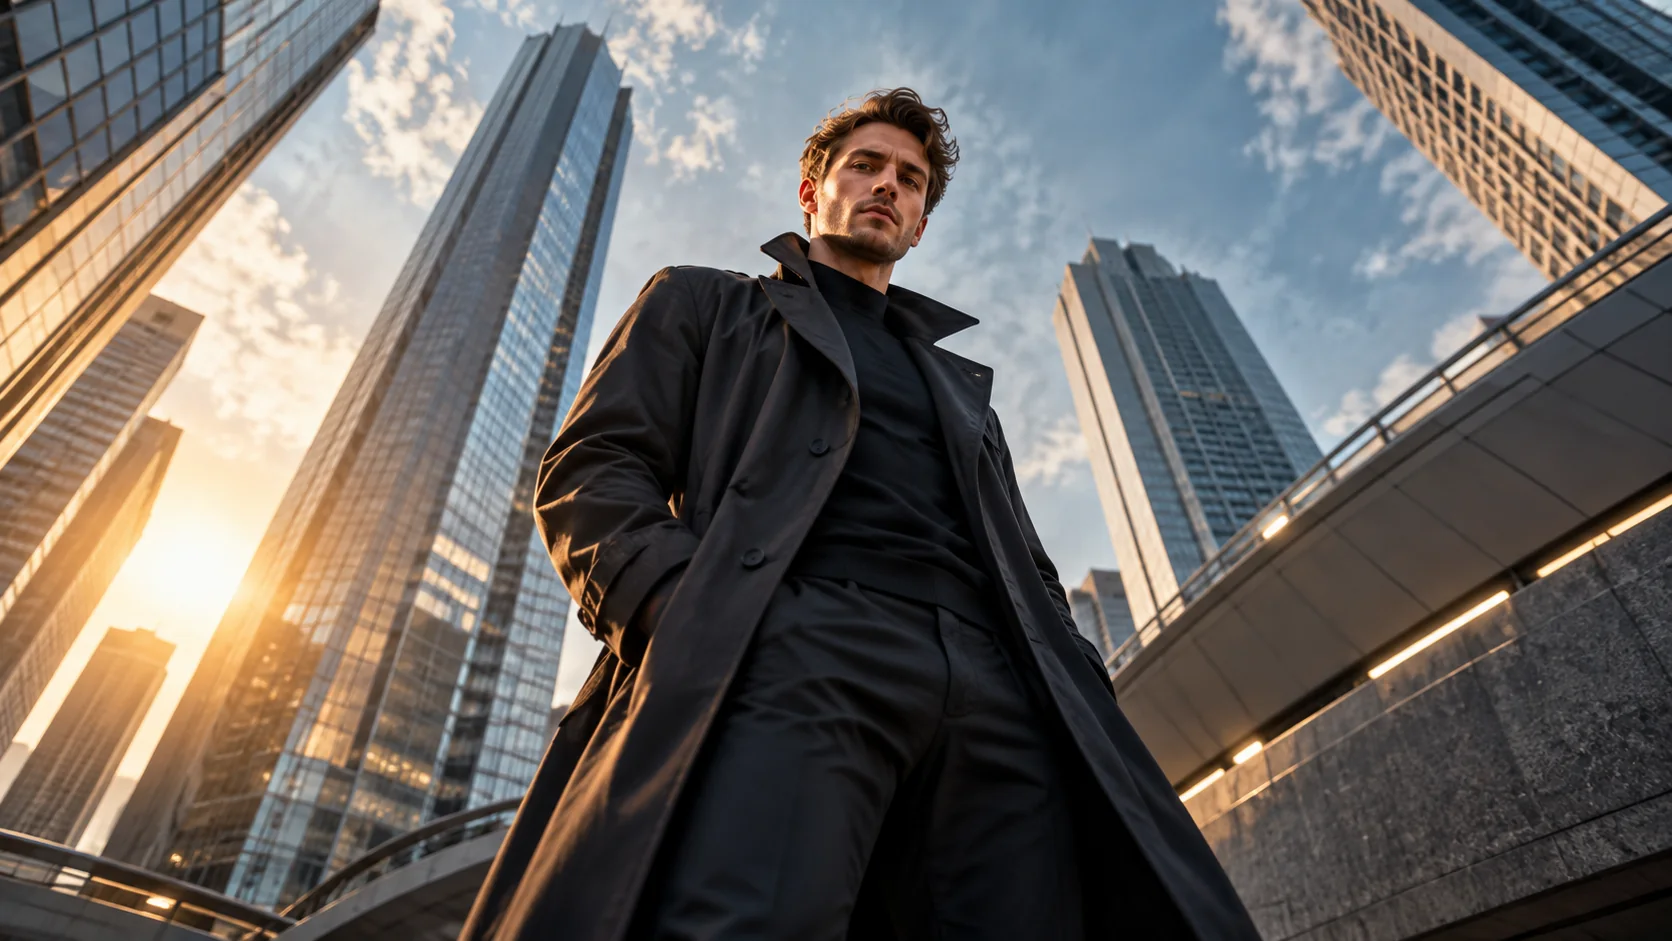
A low-angle shot places the camera below the subject and looks upward. It can make height, scale or a character's presence more noticeable. Its meaning comes from the scene; it does not automatically make every subject powerful.
Keep the lens below the feature you want to emphasize. A camera at waist level looking up at a face is different from a camera near the ground looking at a building.
Make an eye-level frame, then lower the camera until the doorway appears taller behind the person. Keep the body position fixed. Compare whether the lower view strengthens the relationship to the building or merely enlarges the chin and nostrils.
A close wide-angle camera can enlarge feet, hands or the lower face. Step back before changing the focal length, and judge the entire silhouette. For a building, converging verticals may be a deliberate effect or a correction task; decide which before editing.
Use the angle when the upward relationship explains the scene. Keep an alternative neutral view when the image also needs to identify the subject clearly.
A low camera looking toward a worker can make a tool or boot dominate the frame. Decide whether that foreground emphasis belongs to the story. Lowering the camera by itself does not guarantee a powerful portrait; distance and tilt determine what becomes disproportionately large.
For a workshop scene, keep a clear gap between the face and a shelf edge. Move backward if the nearest hand overwhelms the head, then reassess the crop. A slightly low viewpoint may communicate the person's relation to the room more clearly than a camera almost on the floor. Sketch the horizon and the nearest object before arranging the shot.
| Camera decision | Workshop exercise | Observation |
|---|---|---|
| Height | Compare waist height with knee height | Note the changed background |
| Distance | Move back while keeping a useful crop | Record foreground enlargement |
| Tilt | Reduce upward tilt when facial geometry becomes awkward | Mark face and ceiling clearance |
Download the low-angle shot planning card as an editable CSV. Fill the observation column with your own project notes.