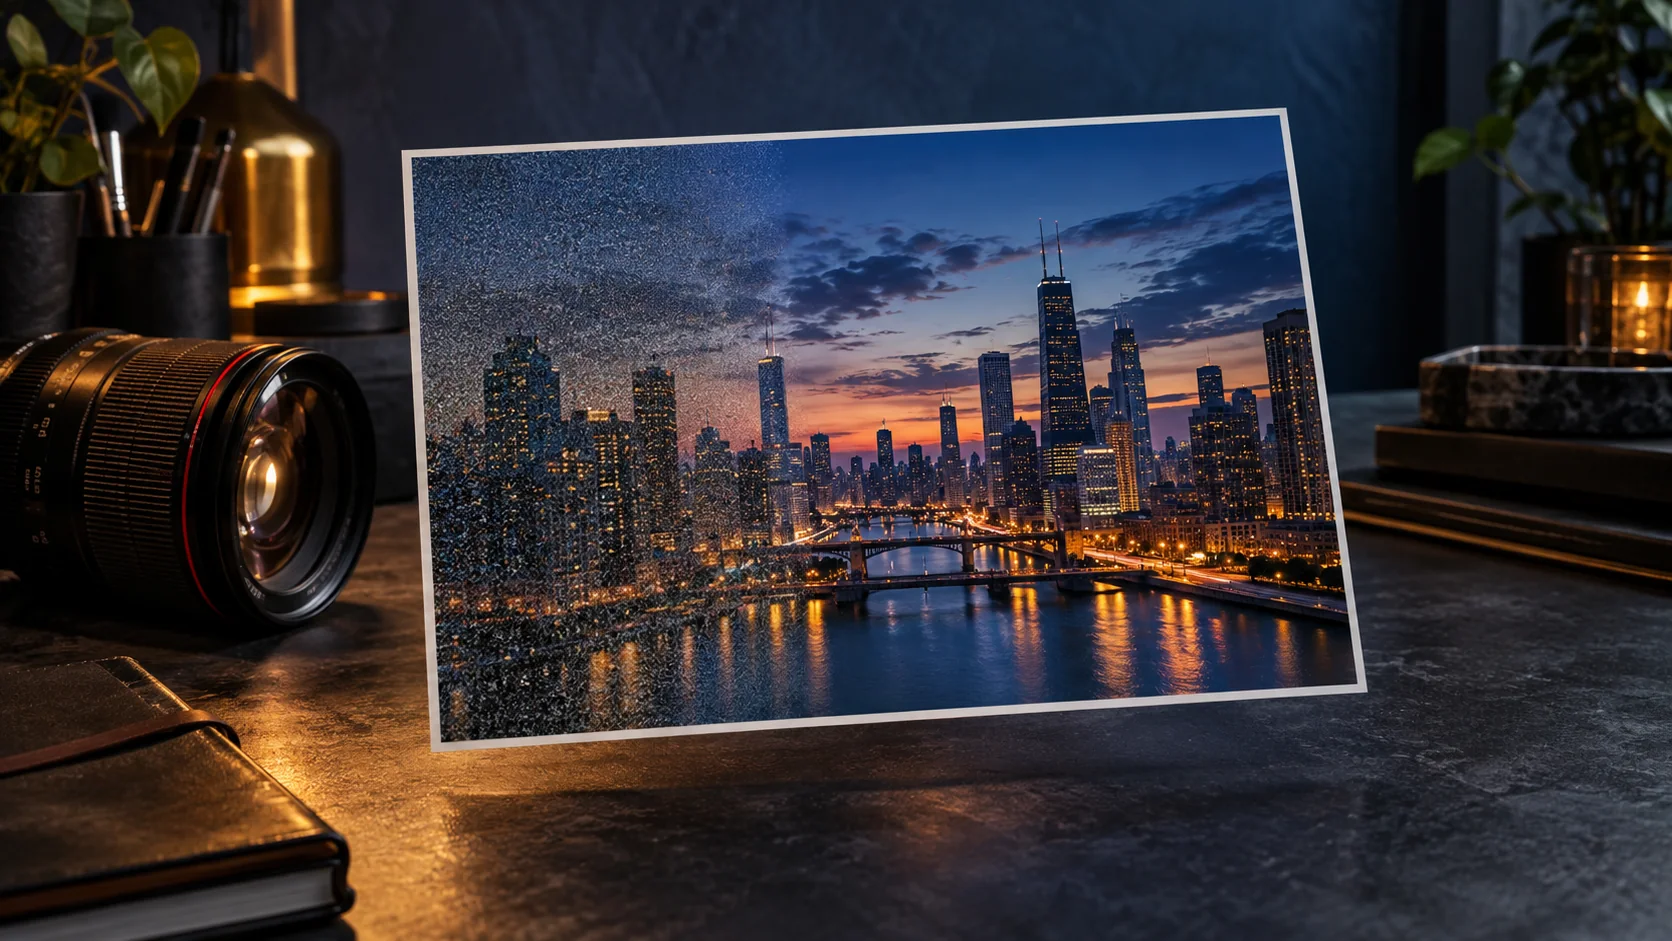
AI Background Changer Guide: Practical Workflow for Production-Ready AI Images
A practical ai background changer guide for AI image editing, enhancement, reference workflows, quality review, and production-ready creative assets with Cuta.
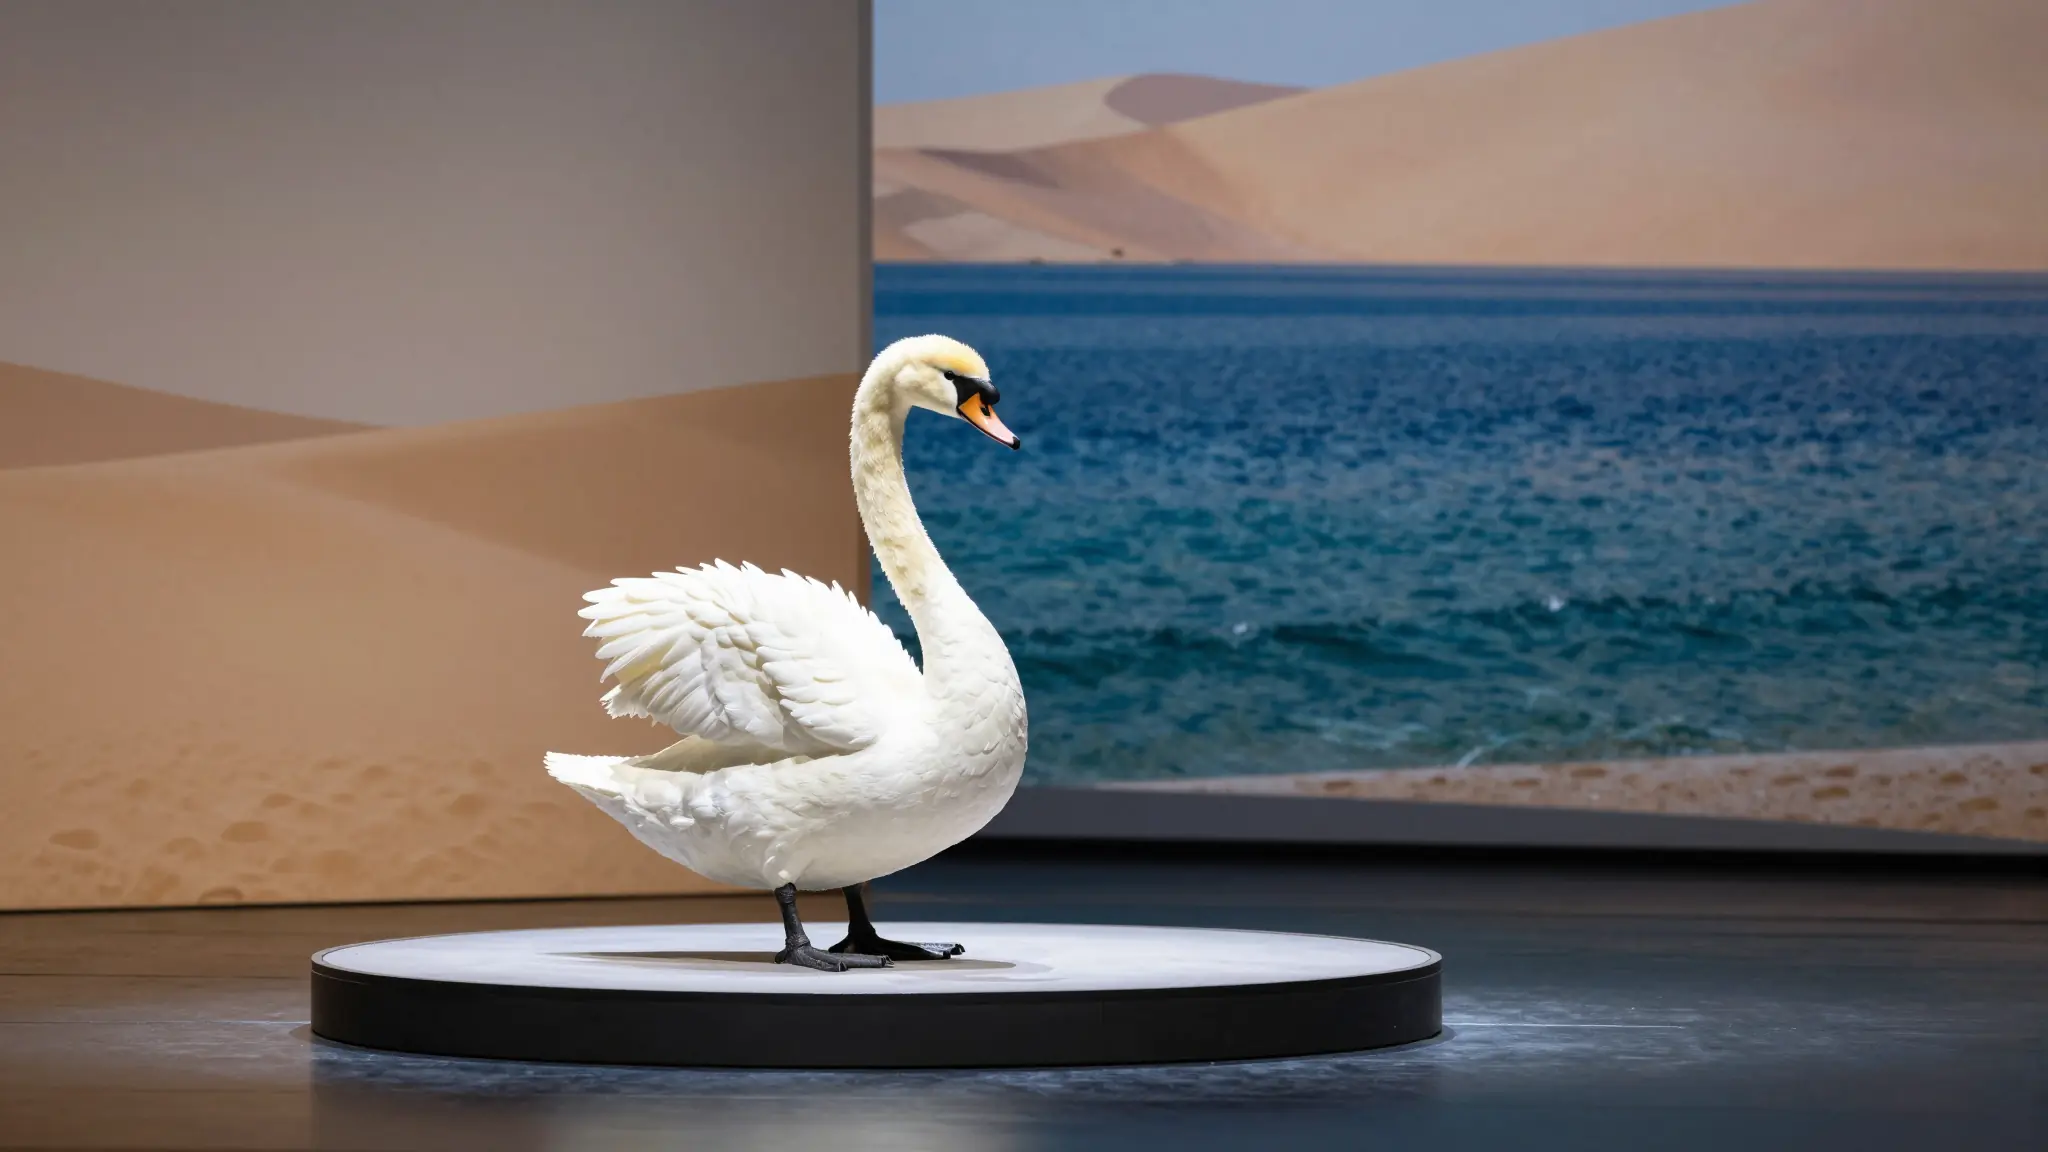
AI Background Changer Guide is a practical way to control context, subject separation, and layout flexibility. In real production work, the strongest AI image results rarely come from a single prompt. They come from a loop: define the visual job, choose the right source image or reference, isolate the change, write a focused instruction, compare versions, and export the image only when it can survive close review.
This guide focuses on AI Image only. It covers how to use prompts, masks, references, quality checks, and organized versions to move from rough image to approved asset. The goal is not to chase novelty. The goal is to create images that are clear enough for marketing, design, ecommerce, social, editorial planning, product concepts, and brand storytelling.
Cuta is useful in this process because image work is rarely isolated. A creator may generate a first concept, edit part of it, upscale it, adapt it to another ratio, build variations, and store the approved export for later reuse. Keeping those steps connected reduces duplicated effort and makes the creative decision trail easier to understand.
What AI Background Changer Guide Means in Practice
AI Background Changer Guide is best understood as a controlled image workflow, not a magic filter. The model can help rebuild pixels, change surfaces, extend a frame, reinterpret a reference, or polish quality, but the creator still decides what the image is supposed to do. A useful output needs a purpose before it needs a style.
For this topic, the core task is separating the subject from its environment and rebuilding context without damaging the main asset. That may sound narrow, but it affects many downstream decisions. If the output is for a product page, accuracy and material behavior matter. If it is for a campaign concept, mood and layout may matter more. If it is for a brand system, consistency across future images may be more important than any single dramatic result.
The workflow begins with a source. The source can be a generated image, a product photo, a sketch, a screenshot, a rough composition, a reference board, or a previous approved image. The source gives the model context. The prompt tells the model what to change. The review step decides whether the change helped or introduced new problems.
A good workflow separates intent from decoration. Instead of asking for a "better image," define the specific job: remove a distraction, improve clarity, match a reference style, expand the frame for a landing page hero, preserve a character identity, align a product color, or produce controlled variations. Specific intent creates better edits.
The most common failure is asking the model to solve too many problems at once. If an image needs composition repair, color correction, object cleanup, and export resizing, do those as separate passes when quality matters. One broad prompt may look faster, but it often creates hidden damage in edges, faces, logos, product shapes, or background continuity.
When to Use This Workflow
Use ai background changer guide when the image already has value but needs direction. A rough concept may have the right idea but weak lighting. A product image may have the correct shape but a distracting background. A portrait may have the right expression but uneven skin texture. A reference workflow may have a strong mood but poor consistency across a series.
This workflow is especially useful when speed and control need to meet. Traditional editing can be precise but slow. Pure generation can be fast but unpredictable. AI image editing sits between those extremes. It lets you keep useful parts of an image while changing only the parts that block approval.
For marketing teams, the value is iteration. You can test campaign routes, visual hooks, and seasonal variants before committing to a final direction. For ecommerce teams, the value is asset efficiency. A product photo can become cleaner, more flexible, and easier to adapt across channels. For designers, the value is exploration without losing structure.
For personal creators and small teams, the workflow reduces dependency on a full production stack. You can start from a prompt or reference, build an image direction, clean up the result, and prepare a usable export. The important discipline is to review the output like a creative asset, not like a novelty sample.
Do not use AI image editing to hide uncertainty about rights, likeness, product claims, or brand approvals. If the input is not yours to use, or if the output changes something sensitive, the problem is not only technical. Keep records of source images, references, prompts, and approval notes so the final asset has a clear origin.
The Complete Workflow
Start with a short creative brief. One sentence is enough if it is specific: "Create a clean square product hero image for a skincare launch, preserving bottle shape and label space while replacing the background with soft stone and warm daylight." This sentence defines subject, channel, stability, environment, and output goal.
Next, inspect the source image before editing. Look at resolution, compression, edge quality, lighting direction, perspective, and visible artifacts. A weak source can still work, but you need to know what it will fight. If the source has unclear edges, low detail, heavy noise, or confusing reflections, plan a cleanup pass before asking for style changes.
Then decide what must remain stable. Stability anchors can include identity, product silhouette, logo placement, skin tone, fabric texture, camera angle, layout hierarchy, or palette. Write these anchors explicitly. AI tools are more useful when they know what should not move.
After that, define the change area. For local edits, use masks or precise region descriptions. For global edits, describe the overall transformation and the boundaries. A request such as "make it premium" is weak. A request such as "replace the cluttered tabletop with matte limestone, preserve the bottle shadow, keep the camera angle unchanged, and use soft left-side daylight" is much stronger.
Generate several controlled versions instead of one dramatic version. Three to five versions usually reveal the model's interpretation pattern. If all versions fail in the same way, revise the brief rather than generating more. If one version is close, narrow the next prompt around the exact improvement needed.
Review the image at multiple zoom levels. At thumbnail size, check composition and immediate readability. At normal display size, check style, color, and subject clarity. At close zoom, check edges, hands, faces, labels, texture, repeating patterns, and reconstructed areas. Many AI edits look good at first glance but fail in the final review.
Finally, export with a clear name and note the decision. The best asset is not only visually strong; it is findable later. Use names that include project, subject, version, ratio, and status. Cuta helps when prompts, references, versions, and approved exports stay connected to the same creative workflow.
Prompt Framework for AI Background Changer Guide
A strong prompt for this workflow has five layers: goal, source description, change request, stability anchors, and review criteria. The goal explains why the edit exists. The source description tells the model what it is looking at. The change request defines what should happen. Stability anchors protect important details. Review criteria turn the output into something a human can approve.
Goal: control context, subject separation, and layout flexibility.
Source image: describe subject, environment, lighting, and current problem.
Change request: separating the subject from its environment and rebuilding context without damaging the main asset.
Keep stable: identity, important edges, material texture, product shape, and composition anchors.
Review criteria: mask quality, shadow realism, edge softness, placement logic.
Export: web-ready image with clean naming and no accidental text artifacts.
The goal line prevents vague style drift. If the image is for a landing page, the model should leave room for copy. If it is for a product card, the subject should remain centered and clean. If it is for a social post, contrast and crop safety may matter more than deep detail.
The source description matters because models can misread ambiguous images. If a reflective object is a perfume bottle, say that. If a gray shape is a laptop, say that. If a line drawing is meant to become a ceramic lamp, say that. The model cannot protect what it does not understand.
The change request should be narrow enough to verify. "Improve this" is hard to judge. "Remove the chair in the background and rebuild the wall texture" is clear. "Match the warm editorial lighting from the reference while preserving the product shape" is clear. A precise request produces a reviewable result.
Stability anchors are the difference between exploration and production. In production, a product cannot change shape, a face cannot become a different person, and a brand palette cannot drift randomly. Anchors should be repeated when the model tends to break them.
Review criteria make iteration faster. Instead of saying "not right," a reviewer can say "the edge is soft, the shadow direction changed, and the background no longer matches the reference." Clear criteria turn subjective taste into actionable revision notes.
Reference Images and Control
References are one of the strongest ways to improve AI image work. A reference can define style, pose, composition, color, material, lighting, or subject identity. The mistake is treating all references as equal. In a controlled workflow, every reference should have a job.
Use one primary reference when exact identity or composition matters. Too many competing references can confuse the model. If you need several references, label their roles: one for product shape, one for lighting, one for background mood, one for layout. This prevents the model from blending them unpredictably.
For ai background changer guide, the most useful references are those that clarify mask quality, shadow realism, edge softness, placement logic. If the task depends on material realism, include a material reference. If the task depends on pose, include a pose reference. If the task depends on brand consistency, include an approved brand image rather than a random inspiration image.
Reference strength should be adjusted based on the job. High fidelity is useful when the source must remain recognizable. Lower fidelity is useful when the reference is only a mood direction. If a generated result copies too much from the reference, reduce reliance on that reference and describe the underlying qualities instead.
Always consider rights. A reference can be useful for direction without being appropriate for direct copying. Use owned assets, licensed references, public-domain materials, or internally approved style boards when the output is commercial. Avoid prompts that ask the model to imitate a living artist or protected brand expression too closely.
A reference library becomes more valuable over time. Store approved references with notes: what they control, where they came from, what permissions apply, and which outputs they helped produce. Cuta can support this kind of workflow because references, generations, edits, and exports can stay organized around the same creative project.
Quality Review Checklist
Review starts with brief fit. Does the output solve the actual visual problem? A beautiful image is still a failed asset if it does not match the channel, product, audience, or creative direction. Compare the image against the original goal before judging surface style.
Next, check subject integrity. For products, look at shape, proportions, label areas, material finish, and scale. For people, look at identity, hands, eyes, skin texture, hairline, and pose. For environments, look at perspective, horizon, shadows, reflections, and repeating patterns.
Then inspect the edit boundary. AI image edits often fail where changed pixels meet protected pixels. Edges may become mushy, shadows may stop abruptly, or textures may repeat. If the boundary is visible, use a narrower mask, a better source, or a separate cleanup pass.
Review color and lighting as a system. The subject and background should appear to belong to the same world. If the light source moves, the whole scene needs to respond. If the product color changes, check whether the material still behaves correctly. Color should support the story without creating accuracy problems.
Check for accidental text and symbols. AI-generated or AI-edited images may invent letters, labels, logos, icons, or marks. If readable text matters, it is usually safer to add final typography in design software rather than asking the model to generate perfect letters inside the scene.
Review channel readiness. A square ecommerce image, a wide website hero, a vertical social asset, and a banner ad all have different crop requirements. Make sure the subject has enough safe space, the focal point survives compression, and the file format fits the destination.
Finally, review governance. Do you know the source? Are references approved? Is likeness involved? Are product claims implied? Does the image need disclosure? The answer may be simple for internal concepts and more serious for public advertising. The workflow should scale with risk.
Common Mistakes
The first mistake is using a vague prompt. Vague prompts invite the model to invent the job. That may be fun for exploration, but it is unreliable for production. Use direct language about what should change and what should remain stable.
The second mistake is over-editing. AI tools make changes feel cheap, so creators sometimes keep improving until the image loses the original quality that made it useful. Stop when the asset meets the brief. More polish is not always more effective.
The third mistake is ignoring the source image. A blurry, compressed, or poorly lit source will limit the output. You can often improve it, but you need to understand the weaknesses. Sometimes the right move is to regenerate or reshoot the source rather than force a fragile edit.
The fourth mistake is mixing too many styles. A prompt that asks for luxury editorial, cyberpunk, documentary realism, watercolor texture, and minimal Scandinavian design in one request is not specific. It is contradictory. Choose a coherent direction.
The fifth mistake is approving at thumbnail size. AI artifacts often hide until the image is opened full size. Check eyes, hands, product edges, background patterns, reflections, and text. A few minutes of review can prevent a public asset from looking careless.
The sixth mistake is losing the version history. If a team cannot find which prompt, source, reference, or export created the approved image, the next campaign starts from zero. Name versions clearly and keep approval notes close to the asset.
How Cuta Fits the AI Image Workflow
Cuta supports the full image loop: generation, editing, comparison, and organization. That matters because AI image work is iterative by nature. A creator may start with a prompt, refine with a reference, edit a selected region, create variations, upscale the best result, and then store the approved export for reuse.
For ai background changer guide, Cuta helps keep the workflow intentional. You can keep prompts close to outputs, compare versions visually, and avoid losing the best asset in a downloads folder. When a result is approved, it becomes part of a usable image system rather than a one-off experiment.
The practical benefit is continuity. A brand team can reuse approved references. A marketer can adapt a product image for several channels. A designer can trace how a concept evolved. A creator can return to a project later without reconstructing the entire prompt history from memory.
This is especially important for teams. Reviewers need context. They need to know what changed, which source was used, and why a version was selected. When the asset record is clear, feedback becomes faster and less personal. The discussion moves from taste to criteria.
Example Workflow
Imagine a team preparing an image for a new landing page. The first draft has a strong subject, but the background feels cluttered and the crop does not leave enough space for headline text. Instead of starting over, the creator defines the problem: preserve the subject, simplify the environment, add negative space, and keep the lighting believable.
The creator uses a reference image for mood and a prompt that names the exact changes. The first output improves the background but weakens the subject edge. The second output preserves the edge but changes the color temperature too much. The third output finds the balance: clean background, stable subject, enough copy space, and a mood that matches the brand.
At this point, the work is not finished. The creator checks close detail, exports the correct ratio, names the file clearly, and stores the approved version with notes. Later, the same image direction can be adapted into a square social post, a wide hero, and a product card because the decision trail is still available.
This example is simple, but it reflects how real AI image production works. The best output is often not the first output. It is the result of controlled revisions, clear references, and disciplined review.
Practical Tips for Better Results
Keep prompts short enough to be coherent but specific enough to constrain the model. Long prompts are not automatically better. A concise prompt with a clear goal, source description, change request, and stability anchors usually beats a long list of adjectives.
Change one major variable at a time. If you alter style, background, composition, and color in one pass, you will not know which instruction caused the improvement or the failure. Controlled iteration creates learning.
Use negative instructions carefully. "No artifacts" is less useful than naming the actual risk: no warped hands, no extra fingers, no invented labels, no melted edges, no repeated background pattern, no product shape distortion. Specific constraints are easier to review.
Save near-misses. A version that fails the current brief may contain a useful lighting direction, texture treatment, or composition idea. Keep the project organized so promising alternatives are not lost.
Write revision notes in plain language. A good note says, "Version 3 has the right background, but the left edge of the bottle is too soft and the shadow direction no longer matches." That note gives the next prompt a clear target.
Export for the destination, not for the tool. A social image may need a vertical ratio and safe margins. A website image may need responsive crops and lightweight compression. An ecommerce image may need consistency across a product grid. Final use should guide final export.
Start Using AI Background Changer Guide with Cuta
AI Background Changer Guide works best when it is treated as a production workflow. Define the job, protect the important parts of the source image, use references with a clear role, generate controlled versions, review details carefully, and keep the approved asset organized for future use.
AI image tools are powerful because they make visual iteration faster. They become more valuable when paired with creative discipline. The model can provide options, but the creator provides direction, taste, and approval standards.
With Cuta, you can keep that process connected. Start from an idea or source image, refine the result, compare versions, and build an image library that supports future campaigns instead of scattered one-time exports.
FAQ
AI Background Changer Guide is a practical AI image workflow for improving, transforming, or directing still images with prompts, references, masks, and review steps. The goal is not only to make an image look impressive, but to make it usable for a real creative task.