How to Fix Overexposed Photos and Check Recoverable Detail
Learn how to identify clipped highlights, recover available detail and distinguish tonal repair from newly generated image content.
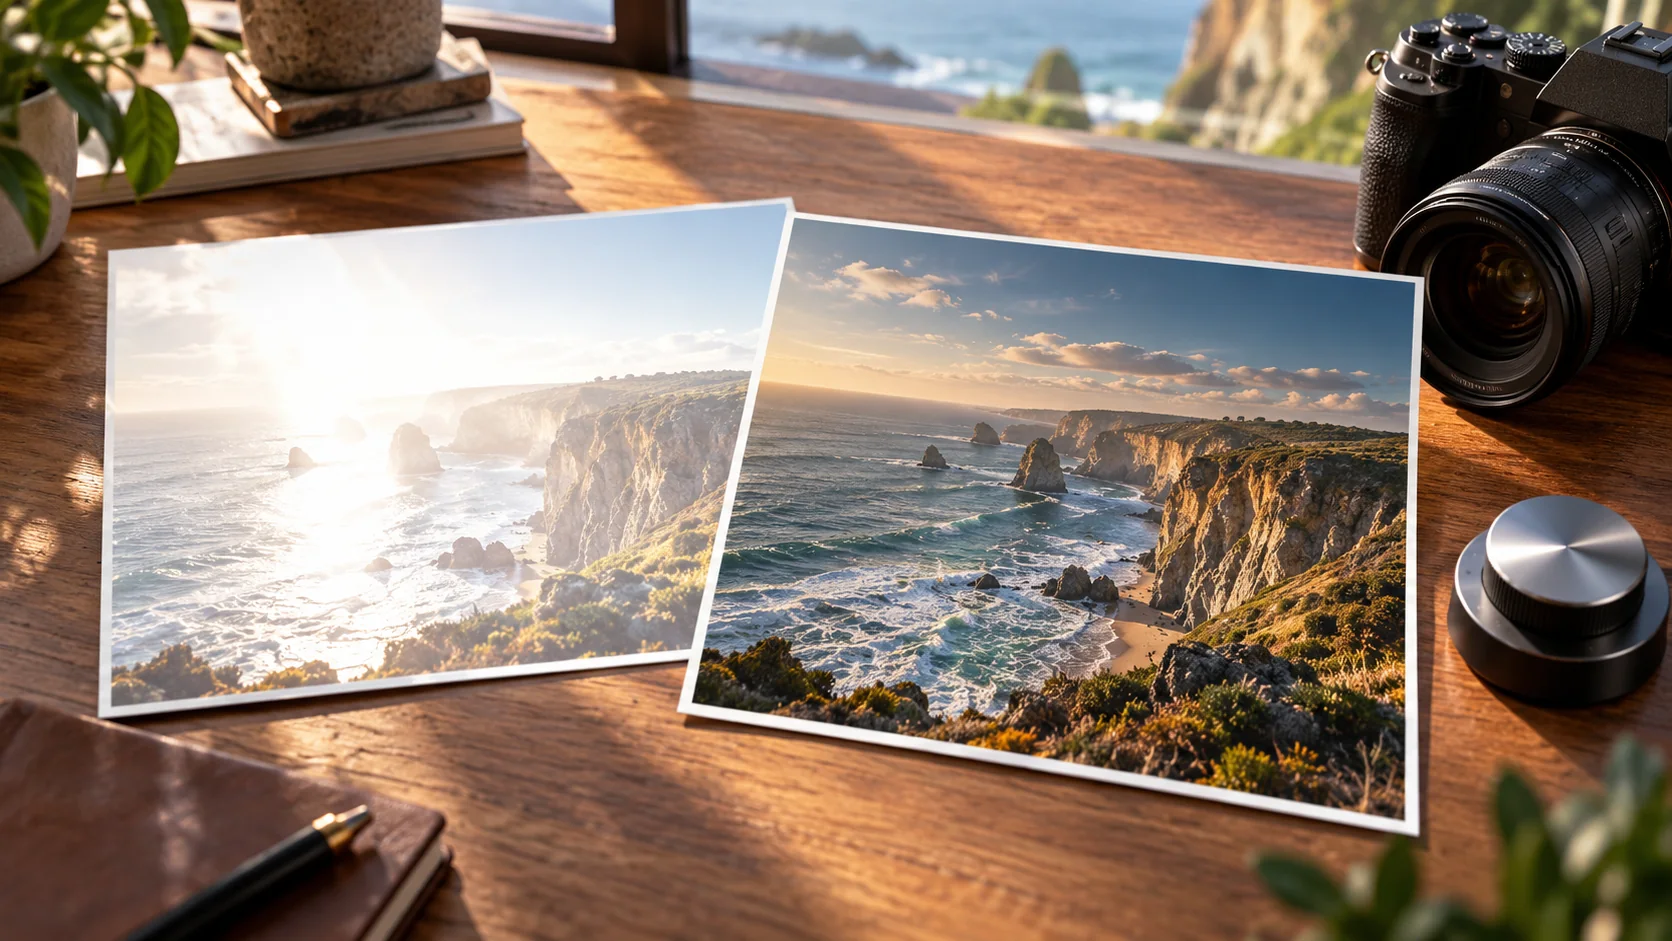
To fix an overexposed photo, first determine whether the bright areas still contain detail. A RAW file may retain information that looks blank in a preview. A JPEG with fully clipped channels has less room. Lowering brightness can improve tone, but it cannot reveal detail that the file never recorded.
Diagnose before editing
| What you see | Likely task | Important limit |
|---|---|---|
| Everything looks too bright but edges remain | Reduce overall exposure | Watch the darker areas |
| Face is readable but a window is bright | Local highlight adjustment | The window may be clipped |
| A white surface is blank after darkening | Decide whether reconstruction is acceptable | New texture is not recovered original detail |
Use the histogram and clipping warning in your editor, then inspect the original file at full size. A bright preview alone is not proof of clipping. Lightroom offers separate exposure, highlights, whites and shadow controls. Adobe adjustment guidance.
Method 1: correct the overall exposure
Open a working copy and lower Exposure in small increments. Stop when the main subject has useful tone. Do not keep lowering it solely to make one clipped patch gray; that can make the whole picture muddy without restoring the patch.
Adjust the white point and highlights separately, then revisit the shadow side. If the subject is now too dark, use a restrained local adjustment instead of undoing the entire exposure correction.
Method 2: shape the tonal curve
Use a curve to lower the upper tonal range while preserving the middle values that carry the face or product. Keep the transition smooth. A sudden bend can create unnatural contrast or color shifts.
Compare with the exposure-only version. A curve is useful when you need a different tonal relationship; it is not automatically a stronger recovery tool.
Method 3: work locally
Mask the bright region and reduce its exposure or highlights without darkening the surrounding image. Inspect the mask boundary for halos. Feather or refine it according to the real edge, rather than using a large soft patch that visibly changes the surrounding area.
Worked diagnosis: a white shirt by a window
The shirt may retain fold detail while the window is blank. Correct the shirt with tone controls and leave the window bright if it supports the scene. If the window must show a view, return to another exposure or a real reference. An AI-filled view would be a reconstruction and should not be described as recovered information.
Review the result
Check skin, material texture and color at normal size. Inspect the brightest areas closely, then compare the overall mood with the source. Keep an unedited original and label any reconstruction.
For a creative edit in Cuta's image workspace, specify what may change and what must remain accurate. Use it to explore an acceptable replacement or reconstruction, while retaining the distinction between repaired tone and newly generated content.
Separate clipping from a bright preview
Work on the highest-quality original you have. A messaging-app copy may already have lost tonal information through processing and compression. For a window portrait, inspect the face, the white shirt and the view outside as three separate regions. A successful correction of the face does not establish that the window has been recovered.
Make an exposure-only version before adding a mask. It gives you a reference for whether the local edit improves the shirt or simply hides the problem with a dark patch. Keep the folds neutral; a gray or strongly colored shirt is a warning that the tonal relationship has changed too far. If the window stays featureless, choose an honest bright window or a labeled creative replacement.
| Region | Adjustment to compare | Observation |
|---|---|---|
| Face | Overall exposure, then a small local change | Record skin tone and visible facial detail |
| White shirt | Highlights and white point | Note whether actual folds reappear |
| Window | Darken the region independently | Record blank areas rather than invented detail |
Download the highlight recovery record as an editable CSV. Fill the observation column with your own project notes.