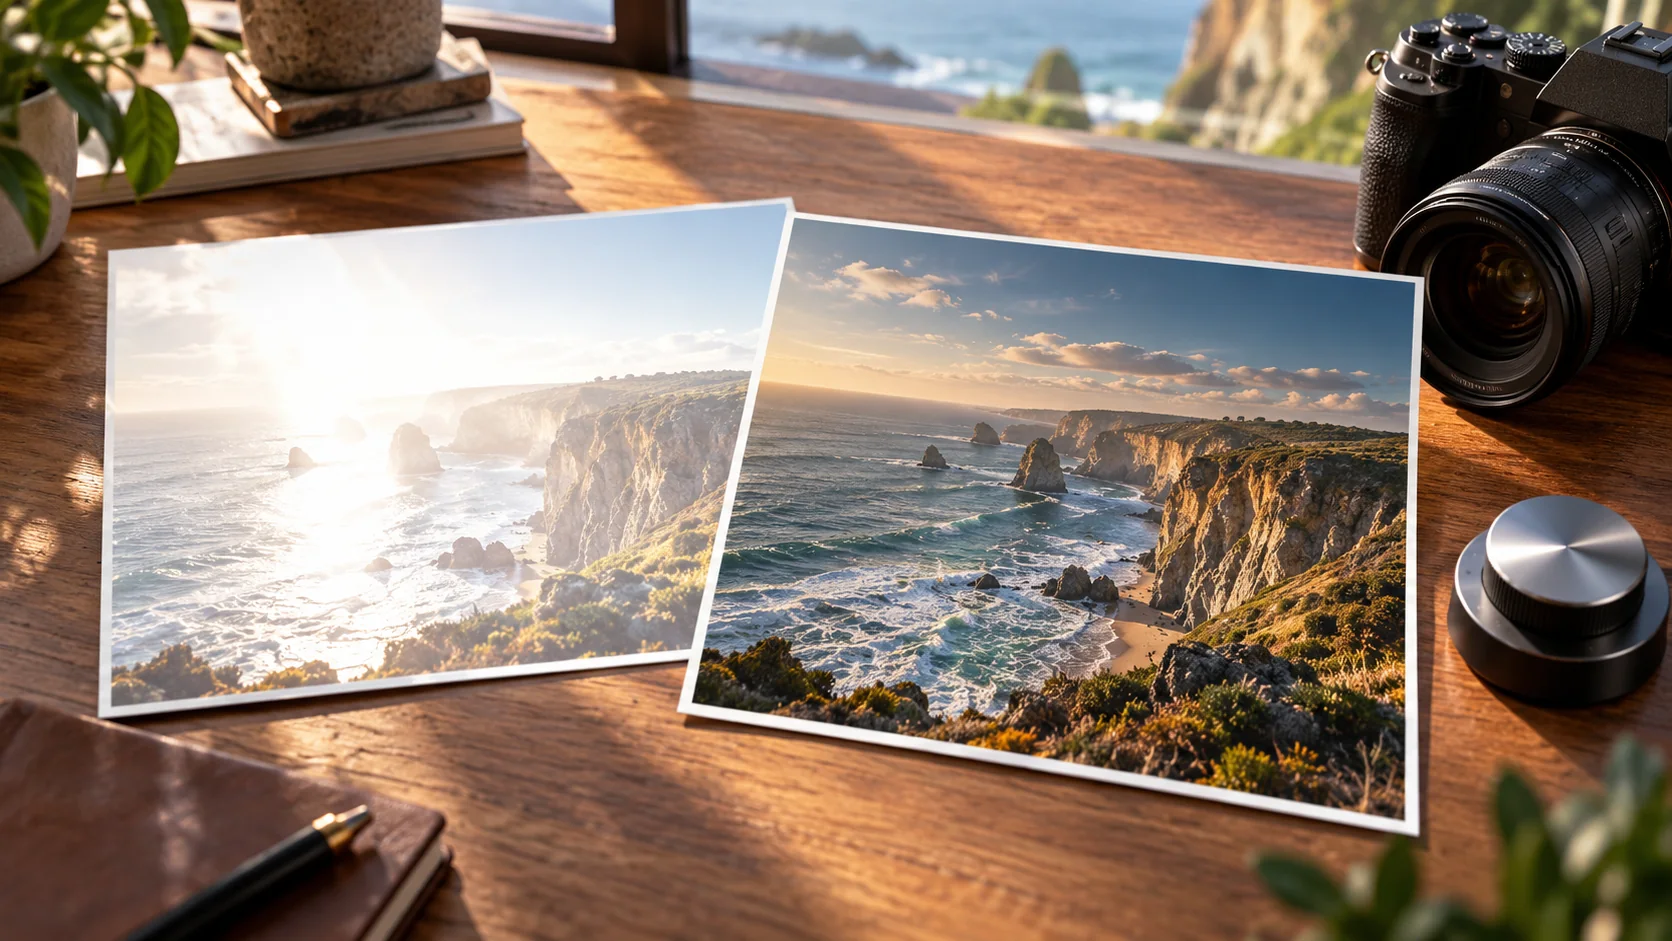
How to Fix Grainy Photos: Noise Reduction Examples
Reduce photo noise while preserving useful detail. Compare luminance noise, color noise and sharpening with a practical editing worksheet.
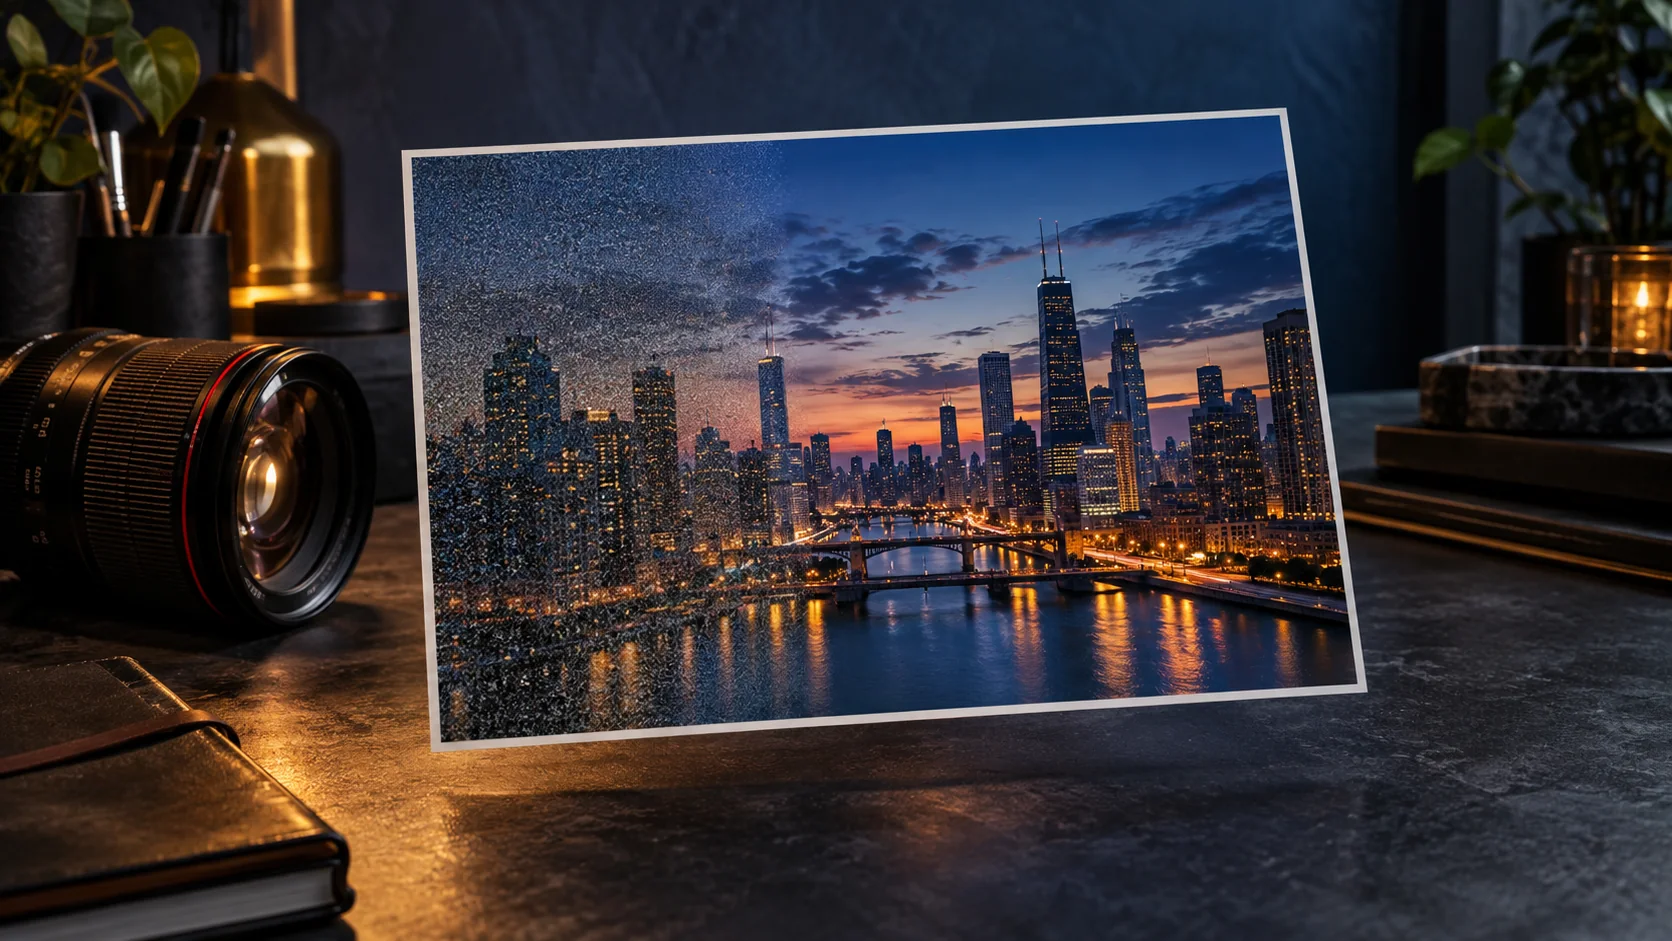
To fix a grainy photo, identify whether the visible problem is sensor noise, compression or blur. These need different treatment. Noise reduction can smooth random variation, but strong settings can also remove hair, fabric and surface detail.
Tell the problems apart
| Problem | Clue | Useful response |
|---|---|---|
| Luminance noise | Random brightness variation | Moderate noise reduction |
| Color noise | Colored speckles in otherwise neutral areas | Color-noise treatment |
| Compression artifacts | Blocks or ringing around edges | Return to a better source if possible |
| Blur | Soft or smeared structure | Diagnose focus or motion separately |
A dark image brightened heavily can reveal noise that was less visible in the original preview. Fixing exposure and then reviewing noise is more informative than smoothing the whole image first.
Work from the best source
Use the original RAW or highest-quality image available. Avoid a screenshot or a repeatedly shared copy when you still have the source. Keep the original and make a working version.
Adobe documents Denoise and enhancement workflows, with supported file types that depend on the product and feature. Check the current guidance for your editor instead of assuming all files use the same enhancement path. Lightroom enhancement guidance.
Reduce noise in controlled steps
- Correct the major exposure and white-balance issue.
- View a representative crop containing smooth areas and real fine detail.
- Reduce colored speckles without erasing natural color differences.
- Increase luminance reduction only until the noise stops competing with the subject.
- Apply restrained sharpening to real edges, not uniformly to every surface.
Do not judge only a smooth wall. That crop makes strong noise reduction look successful while hiding damage to hair or fabric. Compare at the final display size as well as close up.
Worked example: a low-light portrait
Inspect the cheek, hair and jacket in the same comparison. A moderate version may retain hair strands with some background noise. A stronger version may make the background smooth but turn the jacket weave into a flat surface. Choose according to the intended use rather than chasing a perfectly clean 100% crop.
For a compression-damaged image, noise reduction may soften the blocks without restoring their missing detail. Return to a higher-quality source when it exists. For motion blur, smoothing is the wrong primary fix.
Export once and inspect
Resize a separate output copy, review the real display size and avoid repeated lossy re-exports. If the result looks waxy, reduce the smoothing before adding more sharpening.
Use Cuta's image workspace for a creative enhancement when appropriate, but inspect reconstructed features against the source. Newly generated detail is not evidence of what the camera recorded.
Decide which noise is actually distracting
A dark indoor photograph may contain colored speckles, coarse luminance grain and soft edges at the same time. They need different decisions. Inspect a shadow wall for color noise, an eye or label for meaningful detail, and a smooth middle-tone area for an overly waxy finish. Judging only the darkest corner can push you toward excessive smoothing.
Compare a modest reduction with a stronger version using the same output dimensions. A clean thumbnail is not evidence that the larger file retains hair or fabric texture. For a small social image, finish the resize before making the last sharpening decision. For a print, inspect the intended physical size as well as a close crop.
| Inspection area | What you are comparing | Observation |
|---|---|---|
| Shadow wall | Colored speckles and uneven blotches | Note remaining distracting color |
| Hair or product label | Meaningful fine edges | Record lost strands or letter edges |
| Cheek or smooth surface | Natural tonal transitions | Note waxy patches and sharpening halos |
Download the noise and detail comparison as an editable CSV. Fill the observation column with your own project notes.